


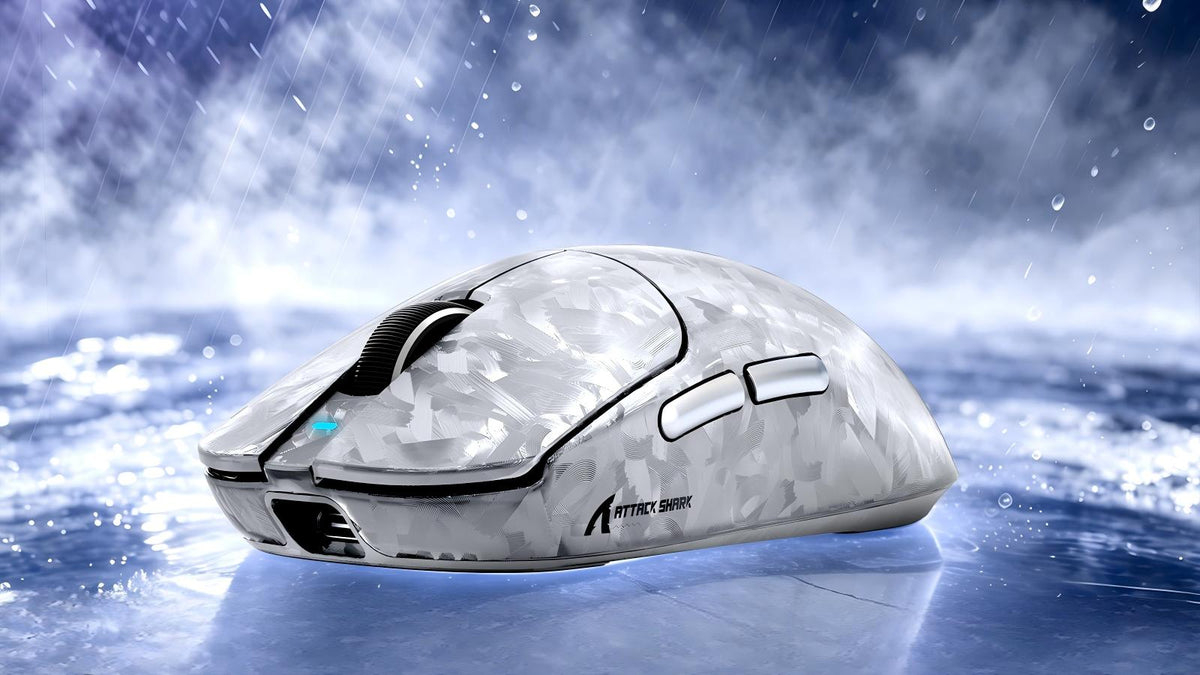

Unboxing a new mouse is an exciting moment for any gamer, but the process shouldn't end at simply plugging it in. To ensure the device meets its advertised specifications and is free from manufacturing defects, a systematic evaluation is necessary. This guide explains how to benchmark a new gaming mouse after unboxing, covering everything from physical build quality to sensor precision. Following these steps will help you decide if your purchase is a keeper or if it requires a return.
Check the Mouse and Accessories
Before connecting the device to your PC, conduct a thorough physical inspection. Manufacturing defects are often visible or audible if you know what to look for. Creating a new gaming mouse testing checklist starts with the exterior to ensure the structural integrity of the device is sound.
Inspect the Packaging and Box Contents
Begin by verifying that all advertised accessories are present. Most high-end mice include a USB receiver (if wireless), a charging cable, an extender dongle, and sometimes extra PTFE feet or grip tapes. Check for any signs of damage to the box that might suggest the internal hardware was subjected to impact during shipping.
Evaluate Build Quality and Side Flex
Grip the mouse firmly and apply moderate pressure to the sides and top. You should not hear any significant creaking or feel the plastic flexing inward. A high-quality new mouse should feel like a solid unit. Furthermore, listen for "rattle" by shaking the mouse gently; a loose lens or internal battery can negatively impact tracking and balance during fast-paced gameplay.
Check the Mouse Feet (Skates)
Inspect the underside to ensure the PTFE skates are applied flat and are not peeling at the edges. Many manufacturers apply a thin blue or clear protective film over the skates that must be removed before use. If the skates are scratched or uneven, the mouse will not glide smoothly across your mousepad, leading to an inconsistent feel.
Examine the Cable and Connectivity Ports
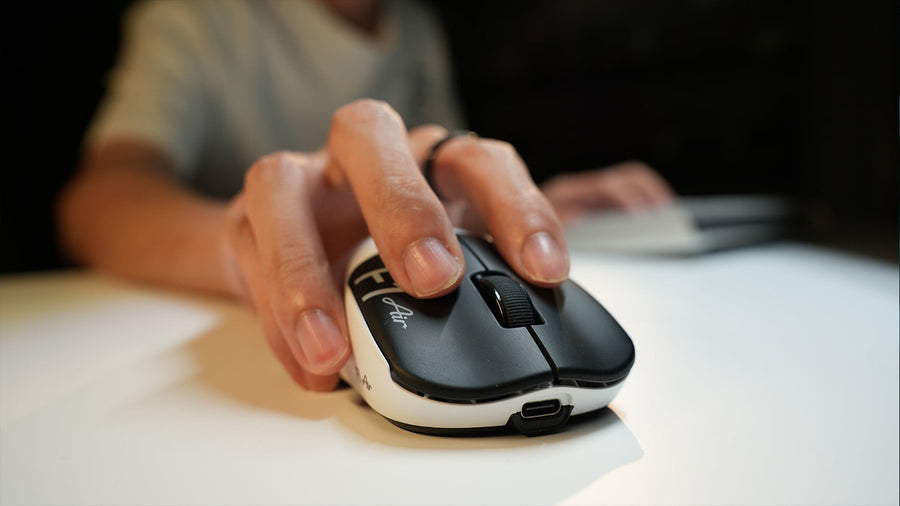
If the mouse is wired, check the braid or rubber for kinks or frays. For wireless models, ensure the USB-C or Micro-USB charging port is aligned correctly and that the cable fits snugly without wobbling. A loose port can lead to charging failures or sudden disconnections if you need to use the mouse in wired mode.
2. Install the Mouse Driver and Update the Firmware
Modern gaming peripherals rely heavily on software to unlock their full potential. The mouse driver acts as the communication bridge between your hardware and the operating system, allowing for advanced customizations that are not possible with generic Windows drivers.
Download Official Software
Visit the manufacturer’s website to download the specific mouse driver or configuration suite. Avoid using third-party "driver updater" tools, as these can install incorrect versions that may brick the device or introduce input lag.
Perform a Firmware Update
Once the software is installed, check for firmware updates. Manufacturers often release day-one patches to fix sensor bugs, improve battery life, or enhance wireless stability. Ensure the mouse is plugged in via a cable during this process to prevent a power failure from interrupting the update, which could render the mouse unusable.
Configure Initial Settings
Navigate through the software to disable "Enhance Pointer Precision" (Windows mouse acceleration) if the software provides a shortcut. Set your preferred DPI stages and ensure the polling rate is set to the maximum supported level—typically 1000Hz, although some modern mice support 4000Hz or 8000Hz. This ensures you are testing the mouse at its peak performance capability.

3. Test Every Mouse Button
The buttons are the most frequently used components and are prone to mechanical or optical failure. Testing them individually ensures the switches are crisp and responsive.
Main Left and Right Clicks
Press the primary buttons repeatedly to check for a consistent "click" feel. There should be minimal "pre-travel" (distance before the click happens) and "post-travel" (distance the button moves after the click). If one button feels significantly mushier or louder than the other, it could indicate a misaligned switch or a manufacturing variance in the shell.
Side Button Functionality
Test the side buttons for tactile feedback. Because these are often smaller and positioned differently, they are susceptible to "mushiness." Ensure they don't get stuck inside the shell when pressed at an angle. In a competitive environment, accidental clicks or unresponsive side buttons can be the difference between winning and losing a match.
Middle Click and DPI Switch
The middle click (scroll wheel press) often requires more force than the main buttons. Verify that it registers consistently without causing the wheel to scroll accidentally. Similarly, if your mouse has a dedicated DPI cycle button, test it to ensure the software correctly switches between profiles as intended.
Double-Clicking and Latency Tests
Use an online "mouse button test" tool to check for unintended double-clicks. While rare on a new mouse with optical switches, mechanical switches can occasionally suffer from this out of the box. You can also use software like "LDAT" or simple browser tests to get a rough idea of the click latency compared to your previous device.
4. Test the Scroll Wheel
The scroll wheel is a complex mechanical part that handles both navigation and weapon switching in games. It must be precise and durable.
Scroll Steps and Tactility
A good gaming scroll wheel should have defined "steps." As you rotate the wheel, you should feel distinct notches. This prevents over-scrolling when you only mean to switch one item or weapon. If the wheel spins too freely or feels "loose," it may lead to accidental inputs during intense movements.
Scroll Rattle and Alignment
Check if the wheel moves side-to-side. While some horizontal play is normal, excessive rattling when moving the mouse quickly indicates poor assembly. Furthermore, ensure the rubber or plastic grip on the wheel is securely attached and does not slip against the internal mechanism.
Encoder Consistency
Slowly scroll through a long webpage or document. The movement on the screen should perfectly match the physical steps of the wheel. If the page "jitters" or scrolls in the opposite direction occasionally, the internal encoder is likely defective and will only worsen over time.

5. Measure DPI and Tracking
The sensor is the heart of the device. Understanding how to benchmark a new gaming mouse after unboxing involves verifying that the sensor performs accurately across different surfaces and speeds.
DPI Deviation Test
Manufacturers' DPI settings are not always 100% accurate. A setting of 800 DPI on one mouse might feel like 840 on another. Use a tool like "DPI Analyzer" to measure the actual distance the cursor travels compared to the physical movement of the mouse. This helps you adjust your in-game sensitivity to maintain "muscle memory."
Check for Jitter and Ripple
At high DPI settings (above 3200), some sensors introduce "jitter," where the cursor shakes even if your hand is steady. Open a drawing program like MS Paint and draw slow, diagonal lines. If the lines appear jagged or "stair-stepped," the sensor may be struggling with smoothing or surface compatibility.
Test for Pixel Skipping
Move the mouse very slowly across your pad. The cursor should move pixel by pixel. If it jumps or hitches, there may be a tracking issue. This is often caused by a dirty sensor lens or a mismatch between the sensor and the texture of your mousepad.
Lift-Off Distance (LOD) Adjustment
LOD determines how high you have to lift the mouse before it stops tracking. Most gamers prefer a low LOD (under 2mm) to prevent the cursor from moving when they reposition their mouse. Test this by placing thin DVDs or cards under the mouse and checking at what height the cursor stops responding. Most modern mouse driver software allows you to toggle between "High" and "Low" LOD.
6. Check Polling Rate and Connection Stability
Whether you use a wired or wireless mouse for gaming, the stability of the data transmission is paramount. Inconsistencies here result in "stuttering" that can ruin the gaming experience.
Verify Polling Rate Consistency
Use a polling rate checker to ensure your mouse is hitting its target (e.g., 1000Hz). The results should stay close to the target during fast movements. If a 1000Hz mouse frequently drops to 200Hz or 400Hz during movement, it could indicate a CPU bottleneck or a faulty USB port/cable.
Wireless Signal Interference
If using a wireless model, test the range and stability. Place the receiver as close to the mousepad as possible using the provided extender. High-performance wireless mice are sensitive to 2.4GHz interference from Wi-Fi routers or other peripherals. A wired or wireless mouse for gaming should provide a seamless experience without perceived lag or "teleporting" cursors.
Wake-up Latency
Wireless mice enter a "sleep mode" to save battery. Click or move the mouse after it has been sitting for a few minutes. It should wake up almost instantly. If there is a multi-second delay before the cursor moves, it can be frustrating during gameplay or general use.
Battery Reporting Accuracy
For wireless units, monitor the battery percentage through the software over the first few hours. If the battery drops from 100% to 50% in an hour, the cell may be defective. A quality wireless new mouse should typically last several days of heavy use before needing a charge, depending on the polling rate and RGB settings.
Conclusion
Benchmarking a new mouse is the only way to ensure your hardware is performing at its theoretical limit. By following this new gaming mouse testing checklist, you can identify sensor flaws, build quality issues, or software bugs early. Whether you prefer a wired or wireless mouse for gaming, taking the time to verify DPI accuracy and button tactile response will lead to a more consistent and enjoyable gaming experience.

FAQ about Testing a New Gaming Mouse
Q1. How Do I Activate a New Mouse?
Connect a wired mouse to a USB port. For a wireless model, insert its USB receiver or pair it through Bluetooth, then switch on the power. Basic functions should work automatically. Install the official configuration software only when additional settings or firmware updates are needed.
Q2. How Do I Know if a Gaming Mouse Is Good?
A good gaming mouse should fit your grip comfortably, track consistently, register every button press, and maintain a stable connection. Weight, shape, switch feel, and sensor behaviour matter more than a high maximum DPI number alone.
Q3. How Can I Tell if a Mouse Is Not Working?
Check its power switch, battery or charge level, cable, receiver, Bluetooth connection, and USB port. Restart the computer and try another port or device. If the mouse is still not detected, follow the manufacturer’s troubleshooting instructions or contact support.
Q4. How Can I Tell if I Need a New Mouse?
Consider replacing the mouse when double-clicking, reversed scrolling, tracking interruptions, disconnections, or charging problems continue after basic troubleshooting. Replacement may also make sense when the shape causes persistent discomfort or the available settings no longer suit how you play.
Q5. What Is the Lifespan of a Gaming Mouse?
A gaming mouse generally lasts abouttwo to five years. Heavy daily use, dust buildup, worn switches, cable damage, and battery degradation can shorten that range. Regular cleaning and careful storage may extend its useful life, depending on the model and build quality.