
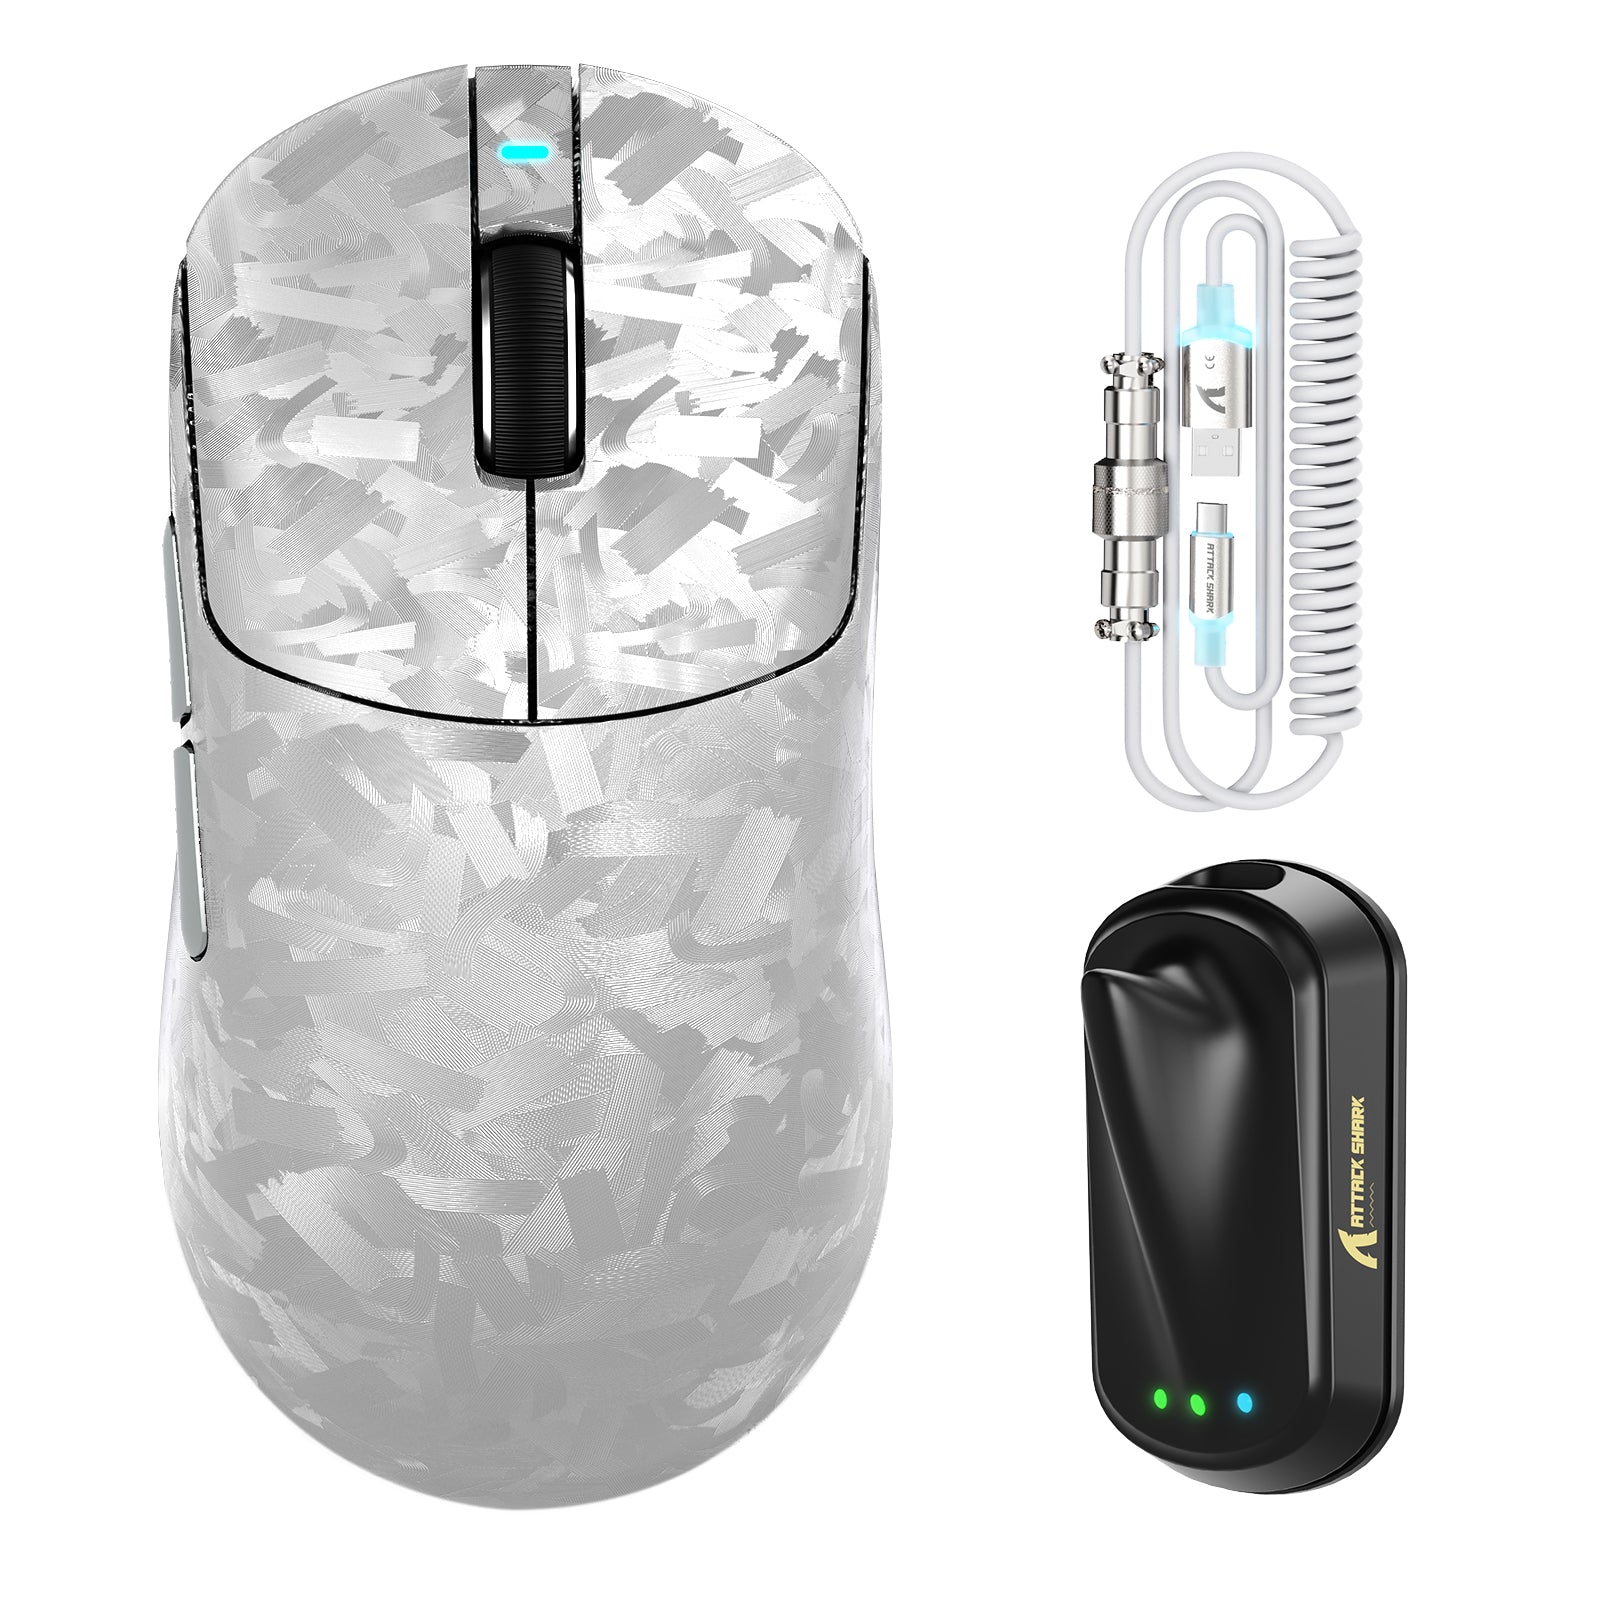
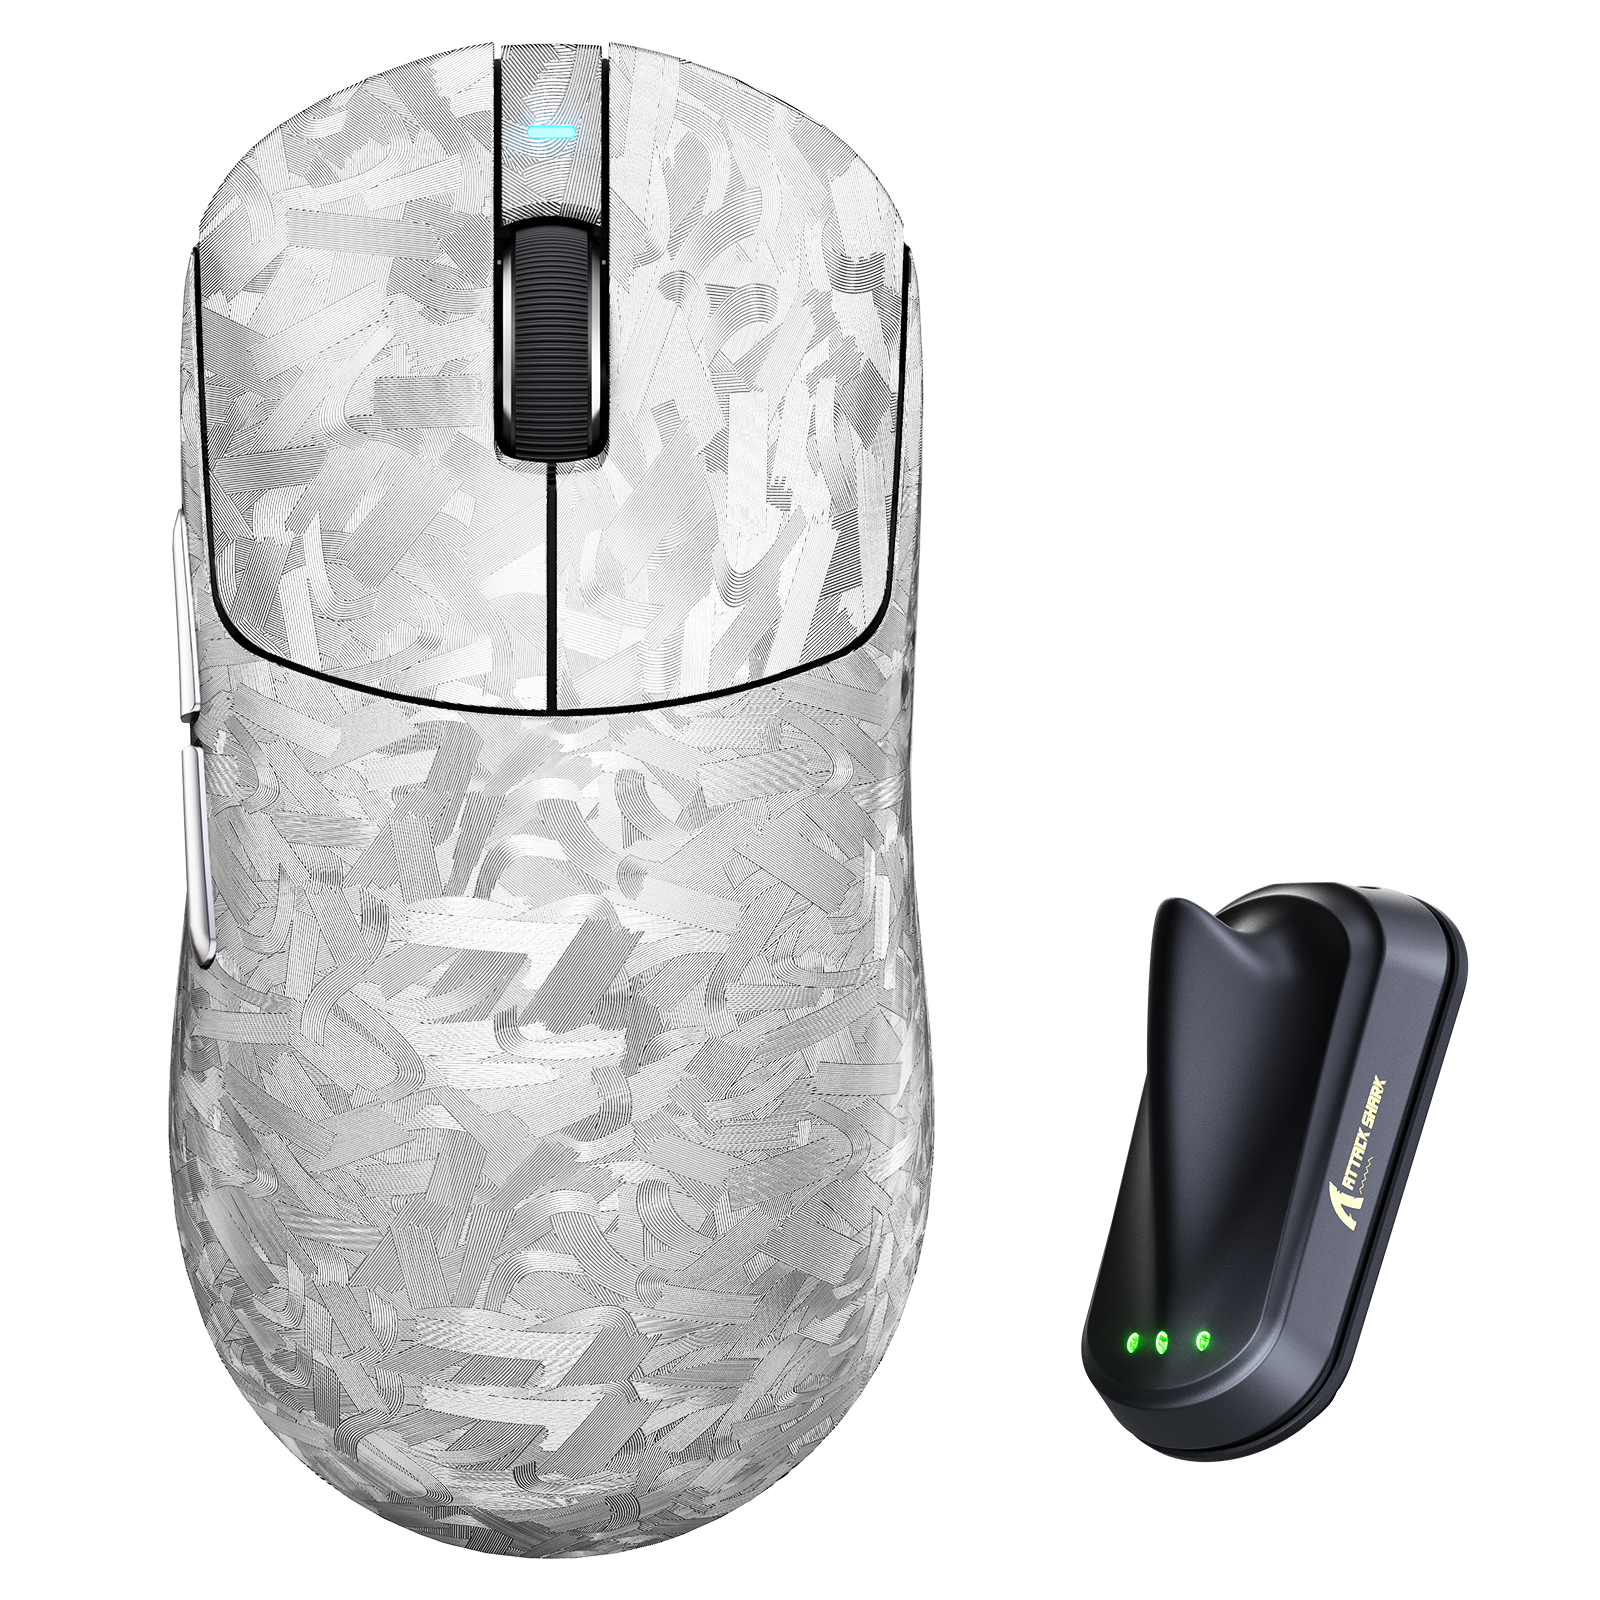
Attack Shark Mouse Polling Test
Mouse polling rate results are estimates
This web tool can only estimate the polling rate from browser events. Browser throttling, event coalescing, system scheduling, page focus, and device drivers can all affect the displayed Hz.
Use the result as a reference only.
How To Use
1. Start Testing
Click the START button to begin. This activates high-frequency tracking inside the page. Keep the pointer in the browser window while the test is running.
2. Move Your Mouse
Move your mouse continuously in circles or side-to-side. The faster and more consistent your movement, the more accurate the polling rate reading will be.
3. Analyze Graph
The blue line represents your real-time polling rate (Hz). A flat, stable line indicates a consistent sensor performance. Drops indicate instability.
4. Scale & Controls
Use the dropdown to set the Max Hz (e.g., 1000Hz or 4000Hz). Use PAUSE to freeze the data or RESET to clear all history.
FAQ & Knowledge
Featured collection
Blog posts
The 5 'Hidden Flaws' of Current Magnetic Keyboards: Is Your Setup Holding You Back?
Serious gamers need 98 layout keyboards, carbon fiber builds, 5-layer acoustics, 8000Hz polling, and customizable magnetic keyboard lighting.
What Is a One-Handed Keyboard and Who Is It For?
Compare one handed keyboard uses, benefits, limits, key mapping, macro software, ergonomic value, and whether it can replace a regular keyboard.

How Deep Should a Gaming Desk Be?
Plan a gaming desk setup by matching desk depth with monitor size, gaming keyboard layout, mousepad movement, and single or dual screens.