

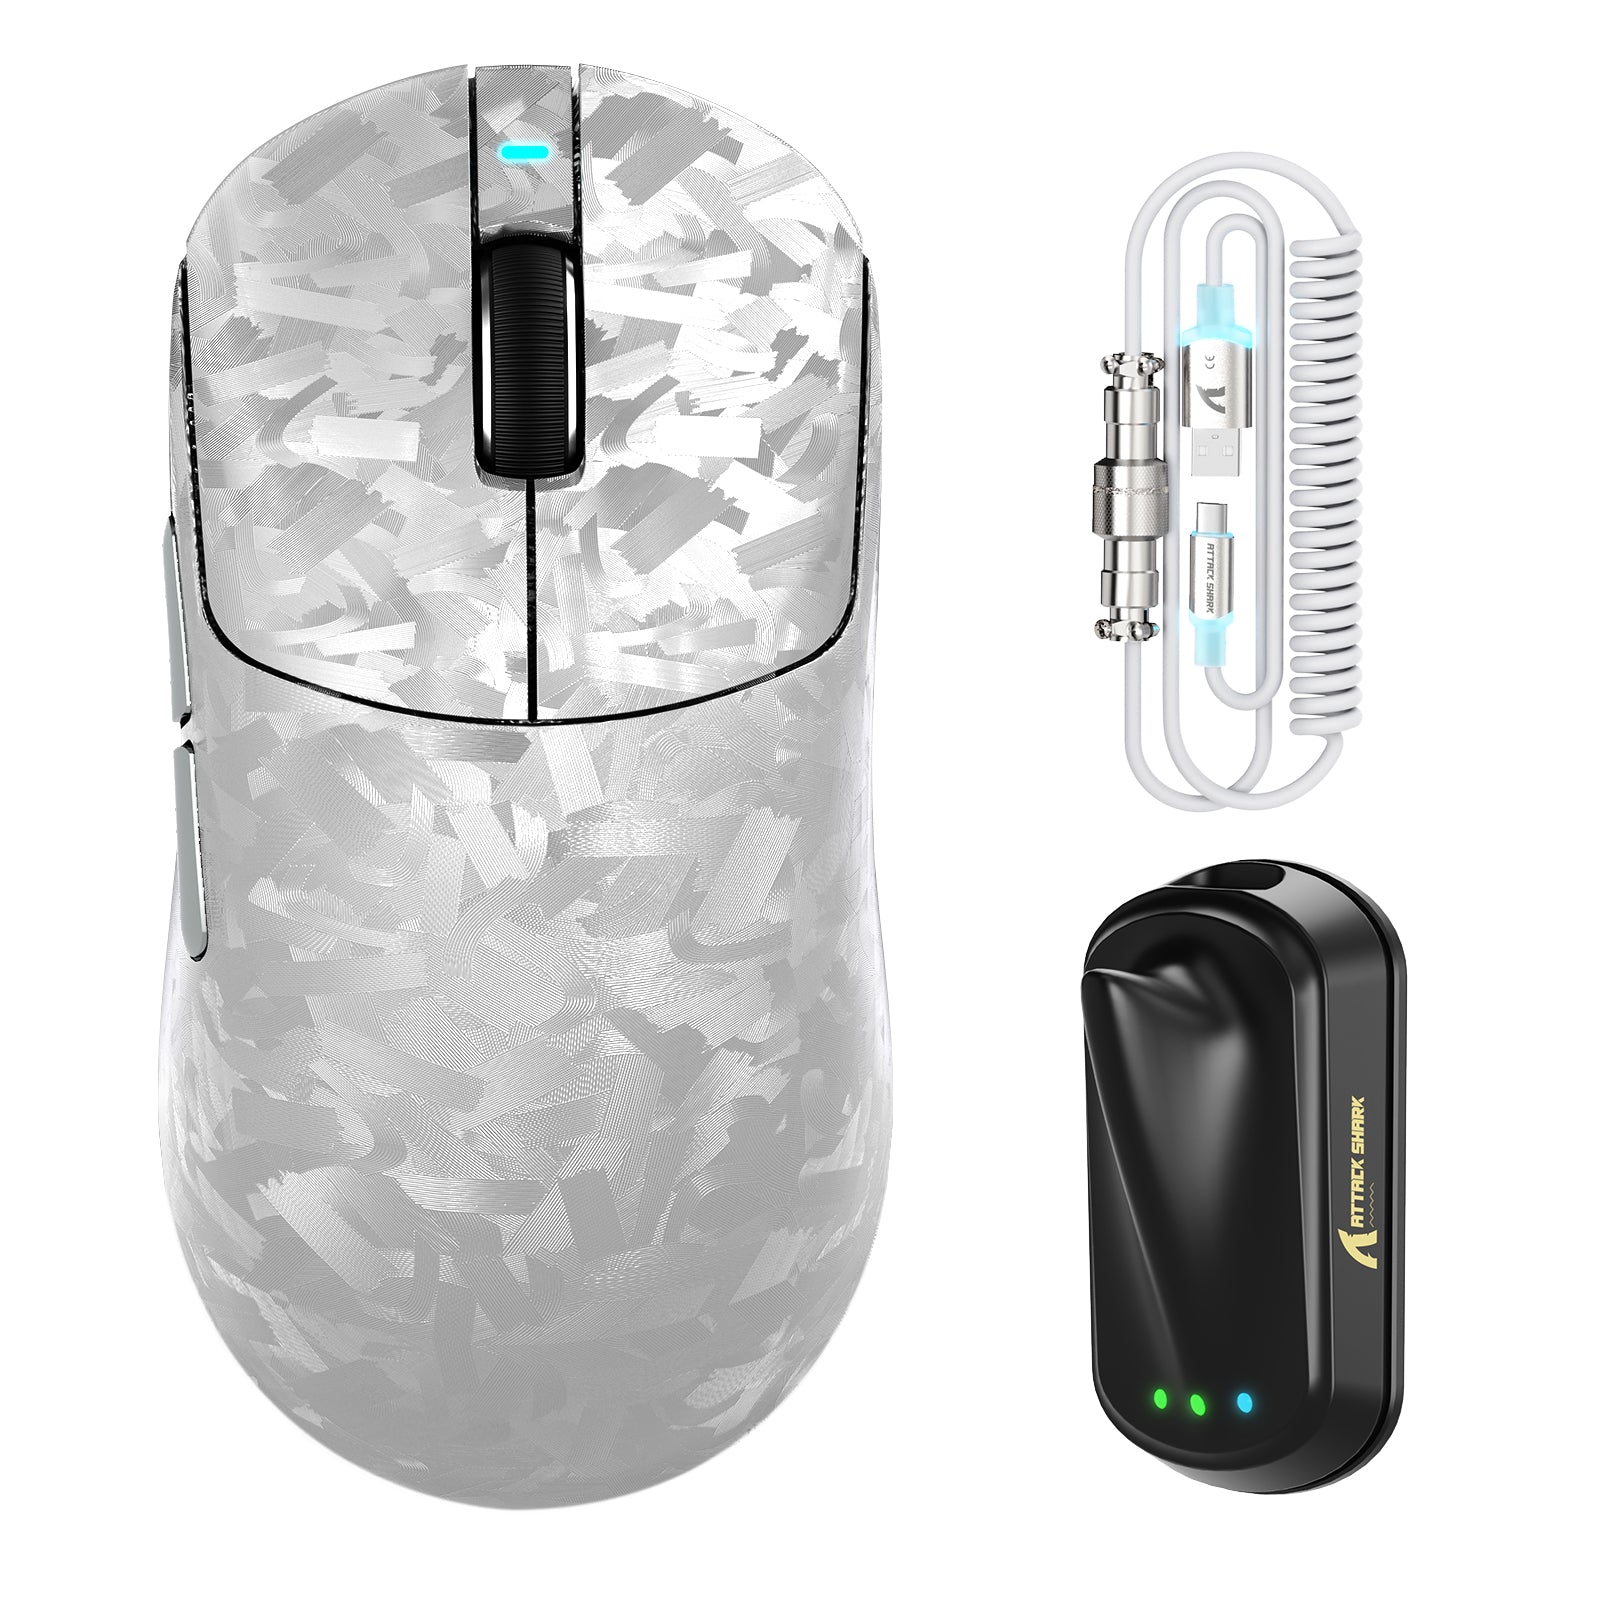
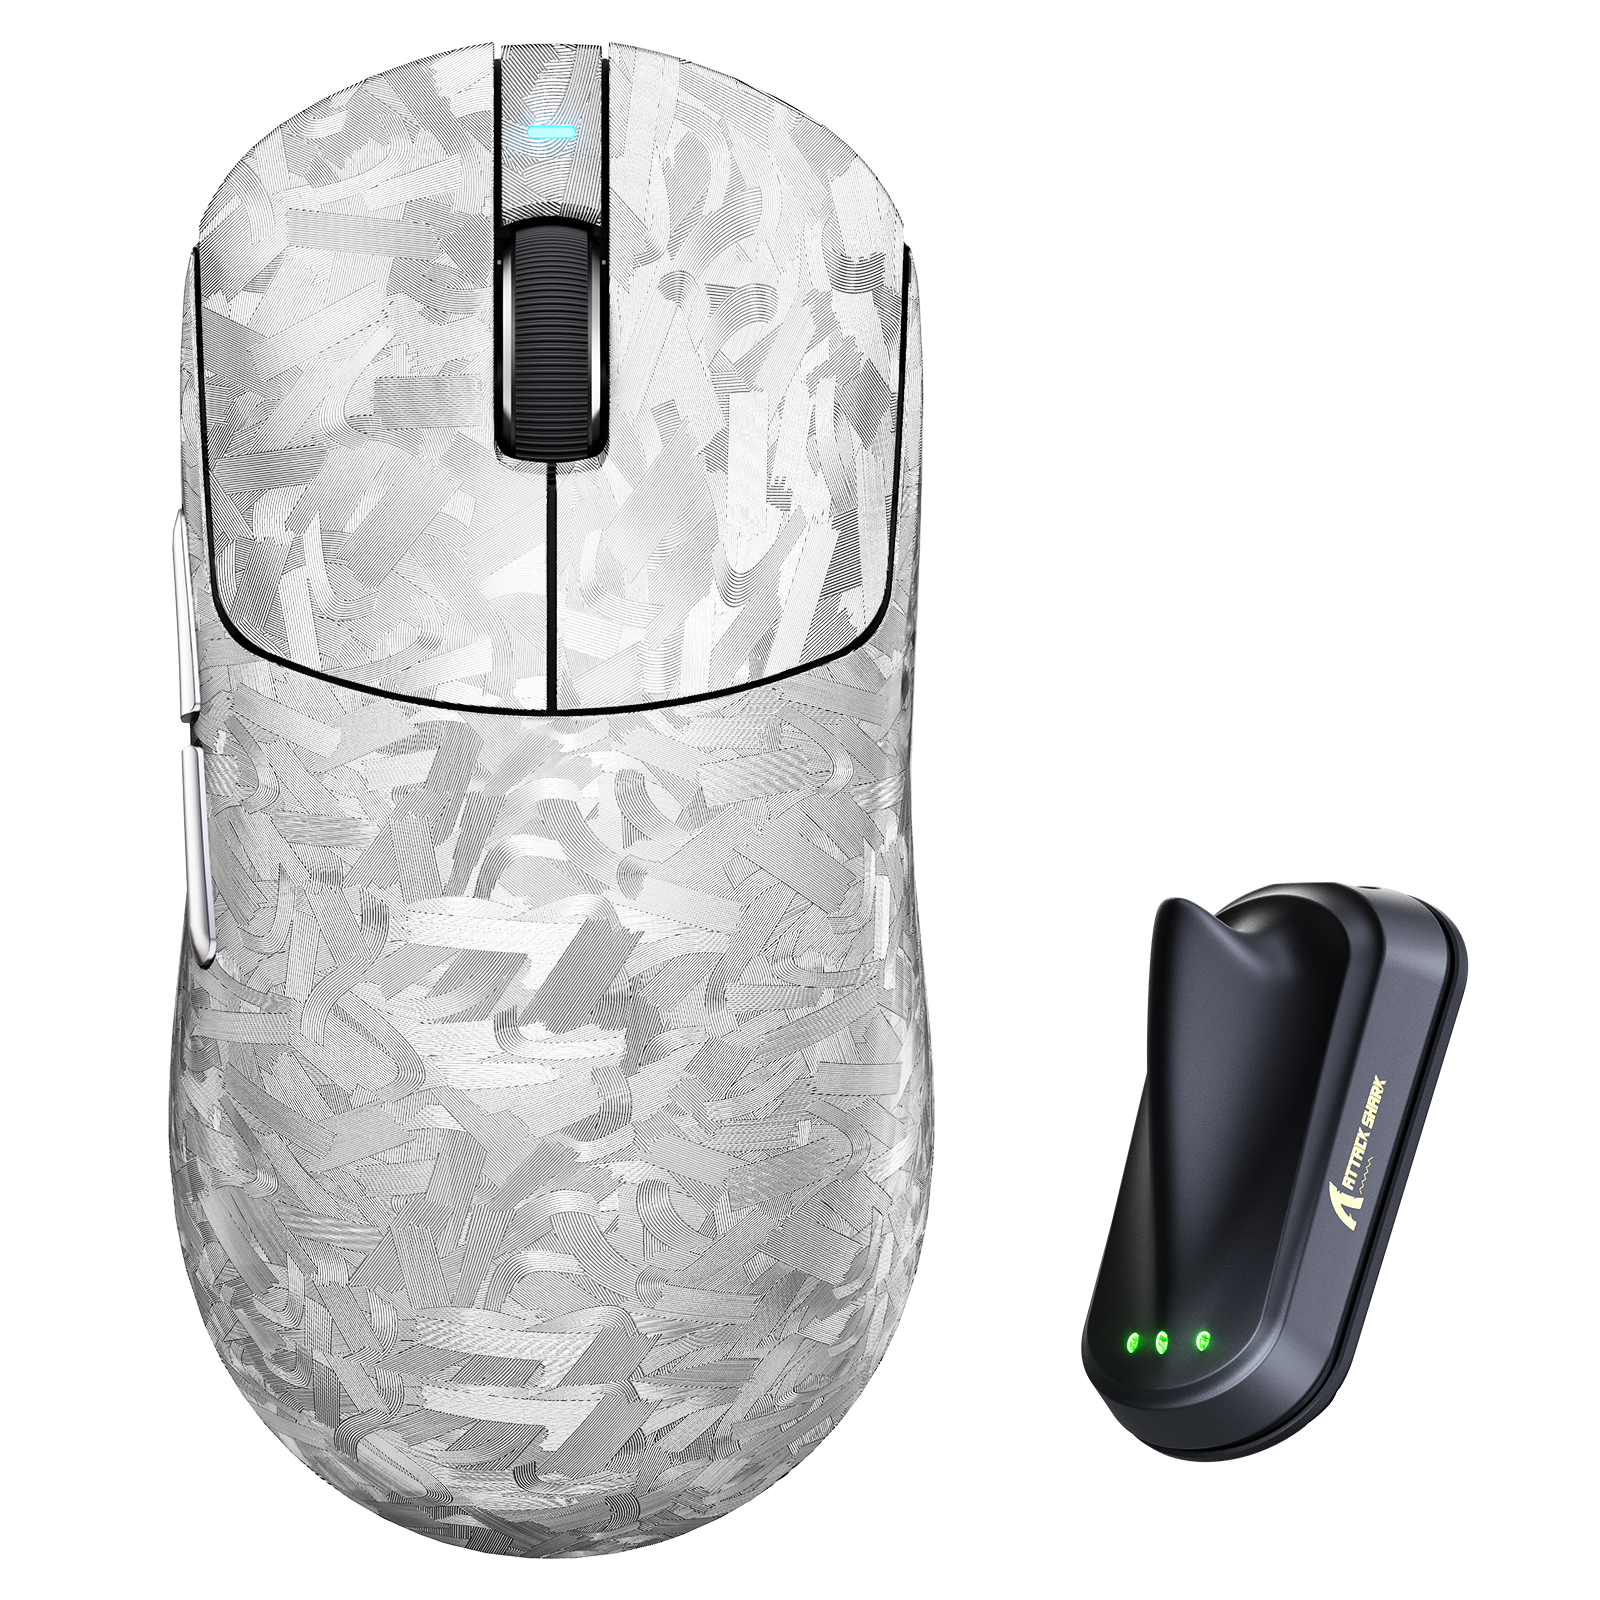
Attack Shark Mouse Polling Test
Mouse polling rate results are estimates
This web tool can only estimate the polling rate from browser events. Browser throttling, event coalescing, system scheduling, page focus, and device drivers can all affect the displayed Hz.
Use the result as a reference only.
How To Use
1. Start Testing
Click the START button to begin. This activates high-frequency tracking inside the page. Keep the pointer in the browser window while the test is running.
2. Move Your Mouse
Move your mouse continuously in circles or side-to-side. The faster and more consistent your movement, the more accurate the polling rate reading will be.
3. Analyze Graph
The blue line represents your real-time polling rate (Hz). A flat, stable line indicates a consistent sensor performance. Drops indicate instability.
4. Scale & Controls
Use the dropdown to set the Max Hz (e.g., 1000Hz or 4000Hz). Use PAUSE to freeze the data or RESET to clear all history.
FAQ & Knowledge
추천 모음
블로그 글
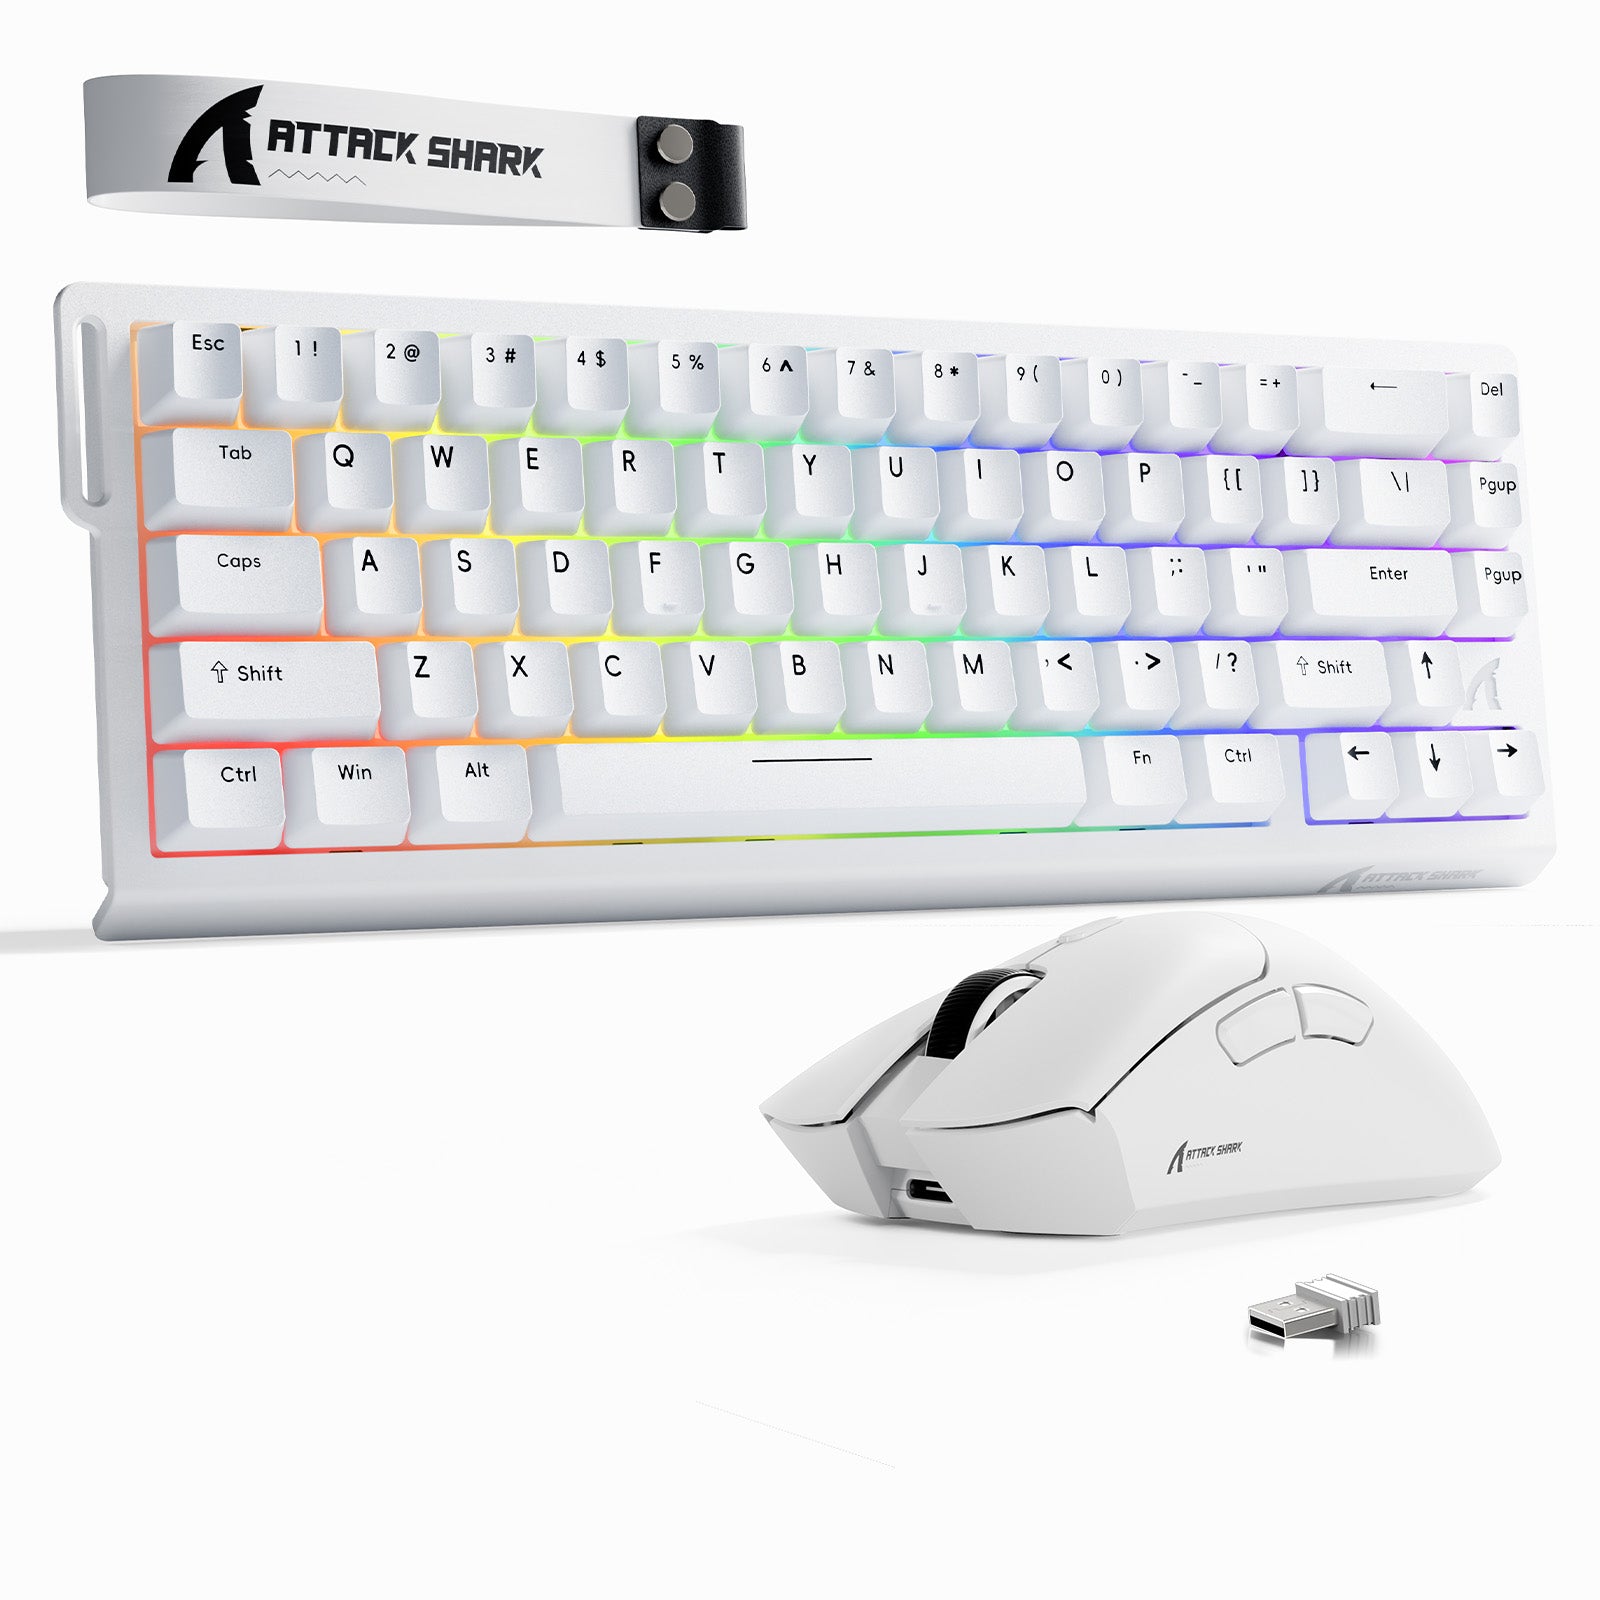
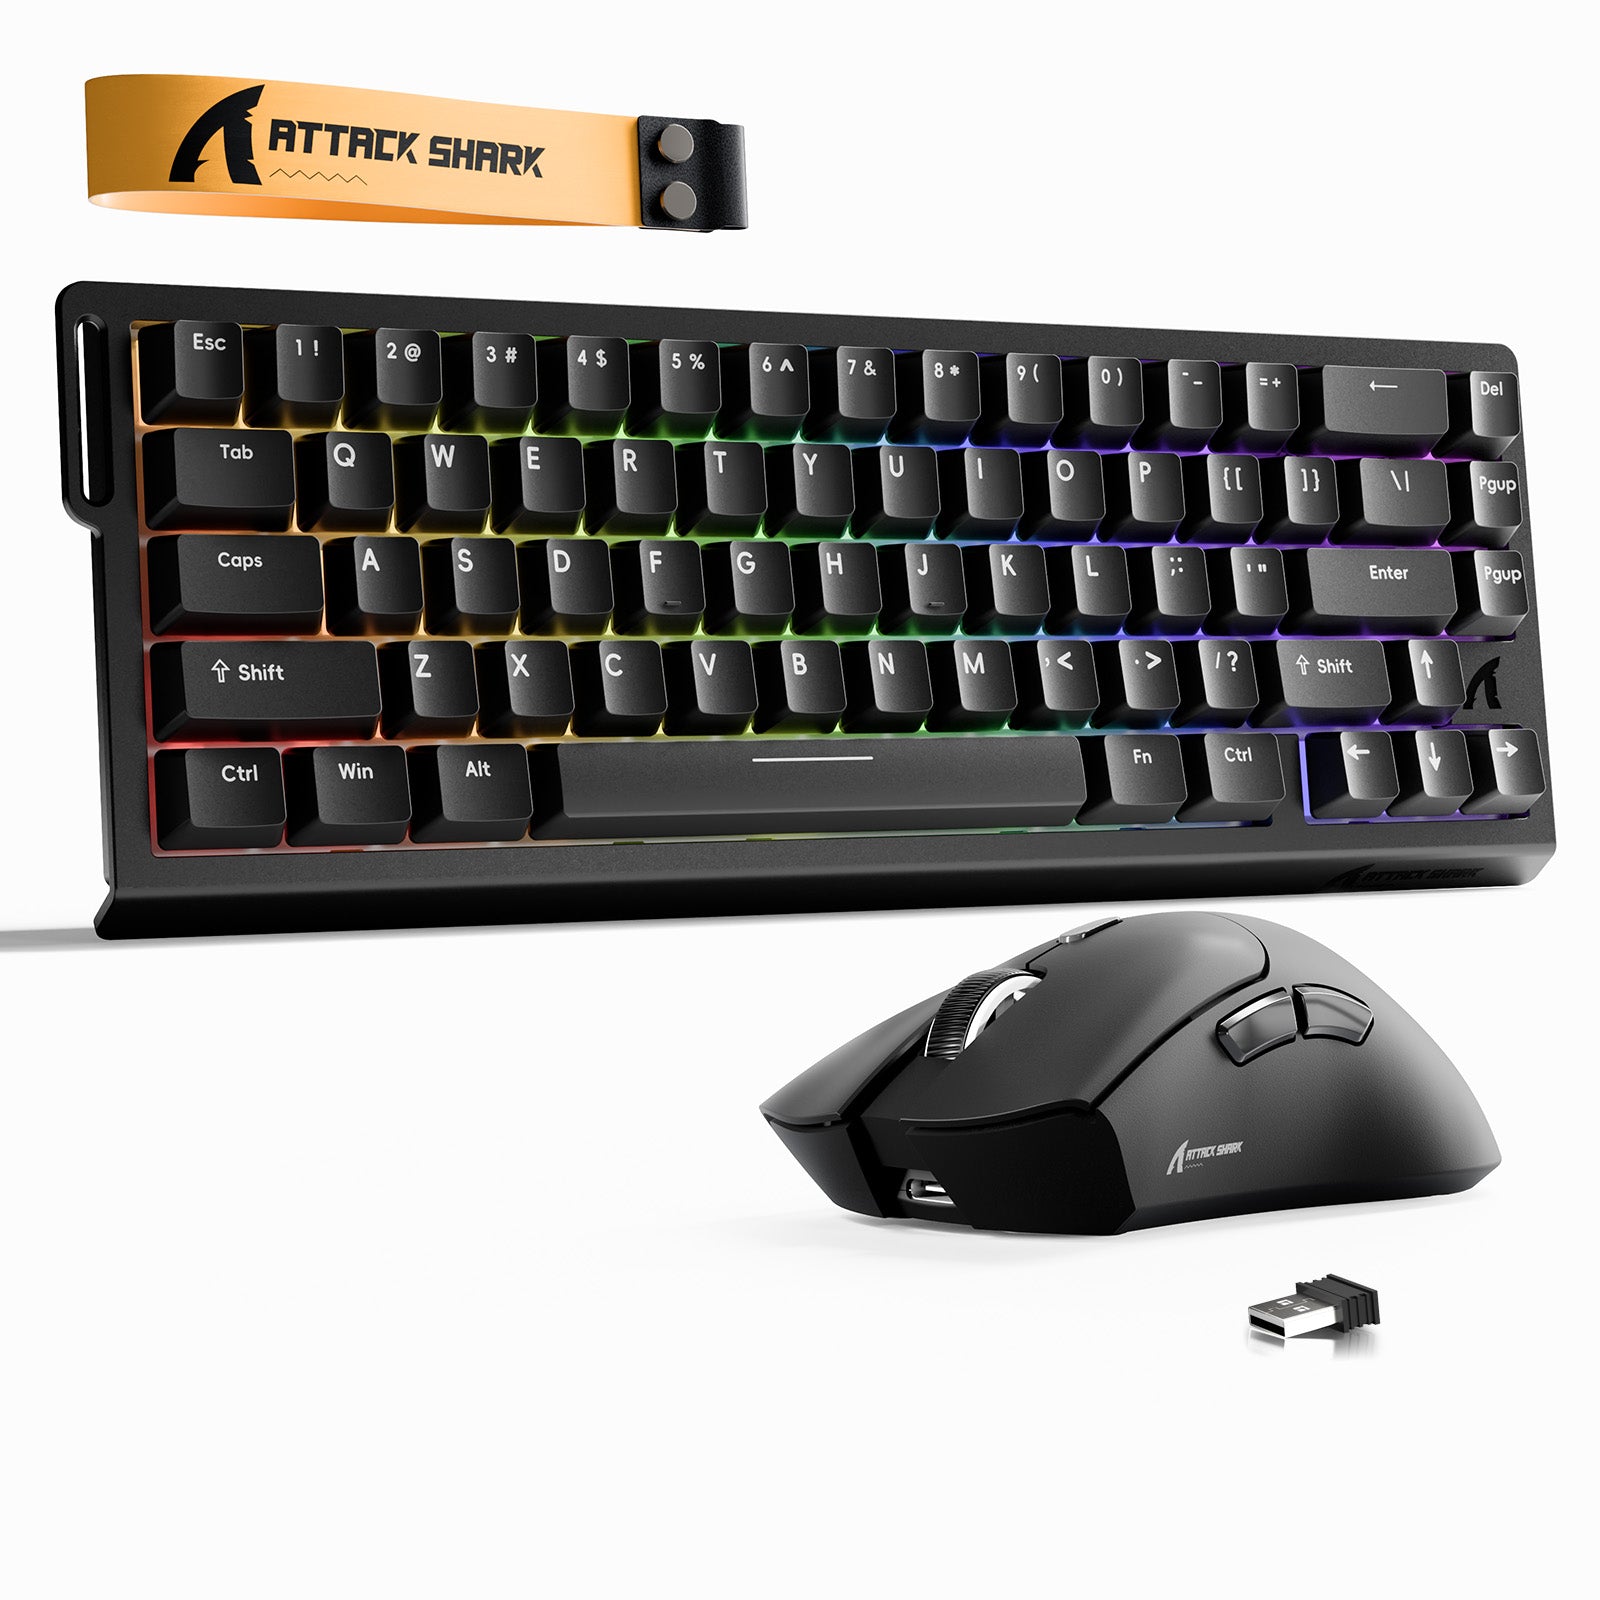
프로급 256K 스캔, 8000Hz 폴링, 홀 효과 센서, 0.005mm 빠른 트리거 튜닝으로 키보드 입력 지연을 줄여줍니다.
블루투스, 2.4GHz 동글 지원, 전환 속도, 배터리 수명, 지연 시간, 타이핑 감을 확인하여 다중 기기 무선 키보드를 선택하세요.
스크류와 접촉 지점 주변에 마스킹 테이프, 전기 테이프 또는 감쇠 스트립을 사용하여 강제 분리 모드로 맞춤형 키보드 케이스의 핑 현상을 수정하세요.