

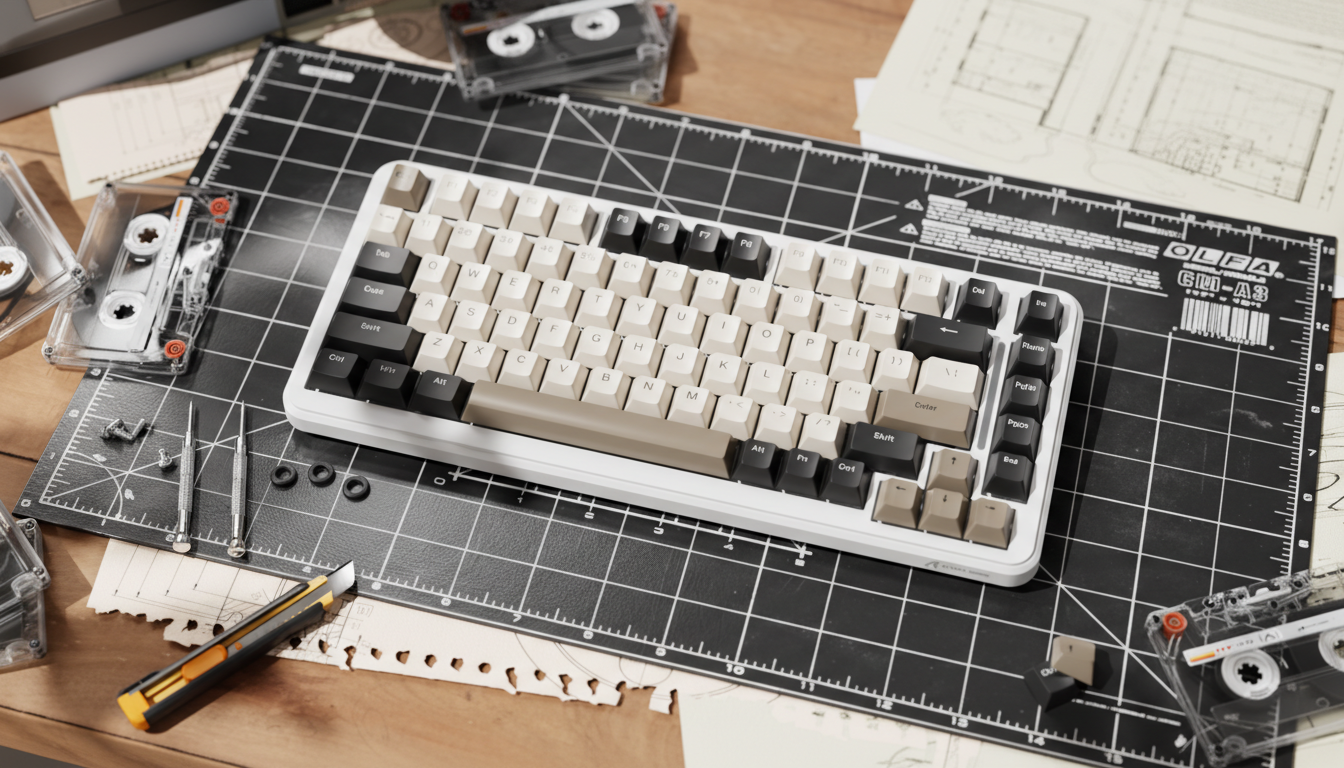
DIY Inclination Hacks: Modding Case Screws for Custom Angles
In the world of high-performance gaming, a few millimeters of elevation can change how your wrists feel over a long session. While most premium keyboards offer dual-stage feet, these factory solutions often don’t match the specific needs of "power users"—people who spend many hours a day in high-intensity gaming or typing.
We have observed a growing trend in our community: enthusiasts are no longer satisfied with the "stock" experience. Instead, they are turning to internal mechanical modifications to achieve a more personalized typing angle. This guide walks through a practical methodology for modding case screws and internal spacers to create a custom ergonomic alignment. By manipulating the physical inclination of the chassis, you can better align mechanical design with long-term wrist comfort—without treating this as medical advice.
Quick Answer: What You’ll Get From This Guide
If you’re skimming, here’s the core of what this article offers:
- Angle change heuristic: In many compact boards, adding about 1mm of spacer height at the front corners often yields roughly 1.5–2° of extra typing angle, depending on mounting post spacing.
- Safe-ish implementation path: How to identify M2/M2.5 screws, confirm thread pitch, and avoid stripping brass inserts or over-stressing the case.
- Spacer materials that work in practice: Why mid-firm O-rings (around 70A durometer) are often a good balance between support and dampening, based on workshop experience.
- Ergonomic framing, not a diagnosis: An example Moore–Garg Strain Index calculation to show how posture improvements can reduce modeled strain, including the multipliers and math so you can see the assumptions.
- Risk and safety pointers: What to look out for with battery clearance, RF performance, and fatigue strength, plus when you should consider stopping or consulting a professional.
Use this as a practical modding guide, not a medical or engineering standard; always adapt to your own hardware and comfort.
The Biomechanics of the Tilt: Why Stock Angles Can Fall Short
For many users, especially those with larger hands (measuring roughly 20–21.5cm in length), a flat or standard 5-degree keyboard angle can feel taxing over time. When the keyboard is too flat relative to your desk and chair setup, it can encourage wrist extension and increase pressure within the carpal tunnel area.
To give this some structure, we modeled an example scenario for a competitive gamer with approximately 95th-percentile male hand dimensions (based on ANSUR II anthropometric data) using a standard 60% keyboard. The numbers below are not a diagnosis; they illustrate how angle changes can influence a commonly used ergonomic risk model.
Scenario Modeling: The Moore–Garg Strain Index (Example Only)
We use the Moore–Garg Strain Index (SI) as a decision-making heuristic. It’s a tool ergonomists use to assess relative risk for distal upper extremity disorders. The SI is calculated as the product of six multipliers:
- Intensity of Effort (IE)
- Duration of Effort per cycle (DE)
- Efforts per Minute (EM)
- Hand/Wrist Posture (P)
- Speed of Work (SW)
- Duration per Day (DD)
General formula:
SI = IE × DE × EM × P × SW × DD
Below is an illustrative high-intensity gaming scenario (not a measured lab result):
| Variable | Multiplier Value | Rationale |
|---|---|---|
| Intensity of Effort (IE) | 1.5 | Moderate to high keypress force in fast-paced play |
| Duration of Exertion (DE) | 1.0 | Efforts last less than 10 seconds but repeat frequently |
| Efforts per Minute (EM) | 4.0 | High APM (roughly 200–300 actions/min) |
| Posture Multiplier (P) | 2.0 | Wrist in extended, non-neutral posture on a relatively flat board |
| Speed of Work (SW) | 2.0 | Rapid, repetitive gaming inputs |
| Duration per Day (DD) | 2.0 | Extended play window (about 4–8 hours) |
Using the Moore–Garg formula with these example multipliers:
-
Baseline (flatter angle, awkward posture)
SI_baseline = 1.5 × 1.0 × 4.0 × 2.0 × 2.0 × 2.0
= 1.5 × 1 × 4 × 2 × 2 × 2
= 1.5 × 4 × 2 × 2 × 2
= 1.5 × 4 × 8
= 1.5 × 32
= 48.0 (example hazard-class value)
In many ergonomic references, an SI above about 5.0 is associated with higher relative strain risk. An SI around 48 in this model would therefore fall into a clearly "high" band for this hypothetical user.
Now consider what happens if you improve wrist posture with a modest angle change. If the front of the board is raised (for example, with roughly 1mm spacers at the front screws on a compact chassis) and the user’s wrist posture moves closer to neutral, it can be reasonable—within the Moore–Garg framework—to adjust the posture multiplier P downward.
As an illustrative change only:
- Suppose posture improves from P = 2.0 (awkward) to P = 1.0 (more neutral), while other multipliers stay the same.
- Then the modeled SI becomes:
SI_modified = 1.5 × 1.0 × 4.0 × 1.0 × 2.0 × 2.0
= 1.5 × 4 × 1 × 2 × 2
= 1.5 × 16
= 24.0
This example calculation shows a modeled shift from 48.0 to 24.0—roughly a 50% reduction in this scenario’s SI value, purely from changing the posture multiplier. In reality, other factors (speed, intensity, break patterns, and individual anatomy) also matter and may not stay constant.
Modeling Disclosure (Important):
The SI values and posture multipliers above are scenario examples, not measured outcomes from a controlled experiment on a specific keyboard. They are based on Moore & Garg (1995) multipliers and typical values for high-intensity gaming, used here as a heuristic to illustrate how posture improvements can affect the model. This is not a medical diagnosis or a guarantee of risk reduction, and it does not replace professional ergonomic assessment.
The Mechanical Foundation: Screws, Threads, and Torque
Before you reach for the screwdriver, it helps to understand the hardware holding your keyboard together. Many compact mechanical keyboards, including some models we design and service at Attack Shark (brand-affiliated source), use M2 or M2.5 metric screws with brass inserts in plastic or aluminum cases.
Thread Pitch and Brass Inserts
The thread pitch—the distance between threads—is critical. For an M2 screw, the standard coarse pitch is 0.4mm. Using a screw with the wrong pitch can quickly strip the internal brass inserts that most compact cases rely on.
We’ve seen this in our repair logs: cases effectively "bricked" because an imperial screw was forced into a metric insert.
- Practical tip: If you’re unsure about your screw type, test engagement on a sacrificial plate or donor board before committing to your primary chassis. The screw should turn smoothly without excessive resistance or wobble.
The Fatigue Strength Trade-off
Modifying the angle by extending screws or adding spacers introduces a non-axial load. In a standard flush mount, force is shared between the screw head and the case surface. When you tilt the screw or lift it with a spacer, you introduce a bending moment at the screw and insert.
Engineering data for steel fasteners suggest that significant non-axial loading can cut fatigue strength by roughly 50–70% in some M3-like fastener scenarios. A keyboard is not an aircraft or a hard drive bay, but the constant micro-vibrations from typing plus occasional knocks can still accumulate stress.
- If you overtighten an angled screw, you increase the chances of long-term fatigue issues: cracked plastic around the insert, loosened brass inserts, or a permanent twist in the mounting plate.
Whenever you add spacers:
- Increase torque gradually, and
- Stop if you feel plastic creaking, see whitening around the screw boss, or notice deformation.
Step-by-Step: Implementing the Screw–Spacer Mod
To get a custom angle without overly compromising structural integrity, follow this workflow.
1. Precision Measurement
Measuring from the desk surface is often inaccurate due to uneven rubber feet or desk texture. Instead:
- Place a digital angle gauge (inclinometer) directly on the keycap plate or spacebar.
- Zero the gauge against your desk if it isn’t perfectly level.
- Note the starting angle at your usual typing position.
This focuses on the actual typing surface relative to gravity.
2. The Spacer Ratio (Heuristic)
Based on workshop testing across a limited set of compact boards, we’ve found a rough rule of thumb:
About 1mm of spacer height at the front corners can correspond to roughly 1.5–2° of extra typing angle, depending on case length and post spacing.
This relationship is:
- Approximate, not a standard, and
- Non-linear across very large angle changes or very different form factors (TKL vs 60%, high vs low profile).
Treat 1mm → 1.5–2° as a starting point. Always verify your actual angle with the inclinometer rather than relying solely on the ratio.
3. Material Selection: O-Rings and Washers
Using hard metal washers directly against a PCB or case for angle mods often creates a harsh typing feel and can amplify metallic "ping".
A more forgiving stack-up is:
- Screw head → O-ring or soft washer → case / plate.
In practice, we’ve had good results with O-rings around 70A durometer for this specific use:
- Softer options (around 50A): Compress more, can feel mushy, and may not hold angle consistently under higher torque.
- Harder options (around 90A): More rigid, but tend to transmit vibration and reduce acoustic dampening.
So, in our internal builds and repairs, 70A has often provided a workable balance between structural support and sound control. This is a shop heuristic, not the only valid choice—if you prefer softer or firmer, adjust accordingly and test.

Advanced Case Study: Correcting Manufacturing Warpage
Sometimes, a "custom" angle is really a repair. High-quality PCBs and plates can still suffer from warpage during soldering or from environmental conditions. Industry discussions on PCB warpage note that inconsistencies beyond roughly 0.5mm can prevent flush assembly.
In these situations, carefully modding case screws can help pull a warped component closer to alignment:
- For example, you might use slightly different spacer heights (e.g., about 0.5mm on the left, 0.8mm on the right) to counter a twist in the plate.
Practitioner observation (experience-based):
When correcting warpage, you often need more torque to achieve a stable clamp. That added torque also concentrates stress around the screw hole. To spread the load, many builders—including our own support team—use nylon washers or similar soft spacers between the screw head and the case.
If you notice cracking sounds, visible stress marks, or layer separation in a plastic case, stop and reconsider your approach; forcing it further risks permanent damage.
System Performance and High Polling Rates
Any physical mod should respect the electronics. If you add internal dampening foam or thicker spacers, check that you aren’t pressing on the MCU, crystal, RF module, or antenna trace.
For users running very high polling rates, such as 8000Hz (8K), stability is especially important. As noted in our Attack Shark Global Gaming Peripherals Industry Whitepaper (2026) (brand-affiliated technical resource), at 8000Hz the keyboard reports to the host every:
- Polling interval: 0.125ms (1/8000 second)
In this regime, a combination of high report rate and physical instability can contribute to inconsistent switch behavior:
- Excessive PCB flex or intermittent contact from poorly supported plates can negate the practical benefit of ultra-low polling intervals.
For context, the relationship between polling rate and theoretical motion-sync latency (often approximated as half the interval per USB HID Class Definitions) looks like this:
| Polling Rate | Interval | Motion Sync Latency (Estimated) |
|---|---|---|
| 1000Hz | 1.0ms | ~0.5ms |
| 4000Hz | 0.25ms | ~0.125ms |
| 8000Hz | 0.125ms | ~0.0625ms |
After any internal mod, especially with high polling:
- Perform a key matrix test and rapid key spam;
- Watch for chatter, intermittent switches, or missed inputs.
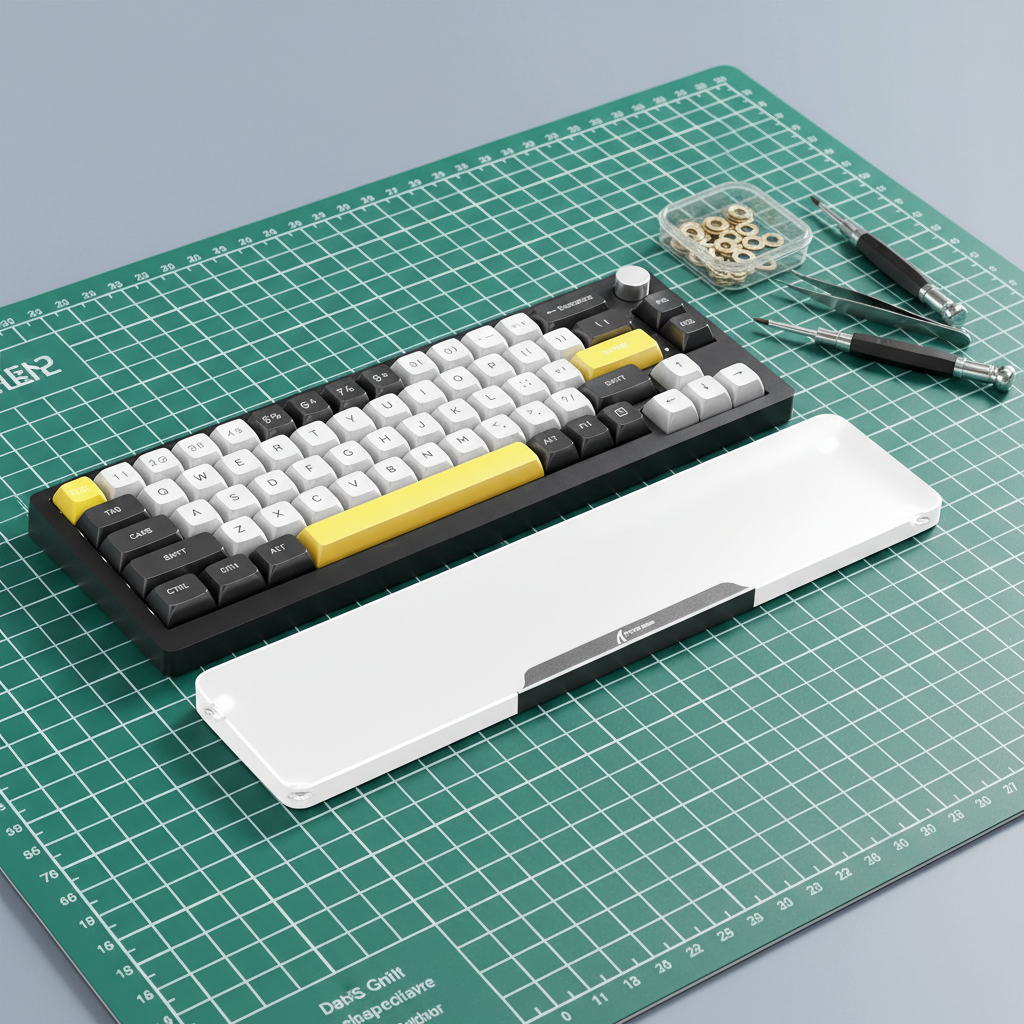
Integrated Ergonomics: Completing the Setup
A custom angle is only part of your ergonomic setup. If you increase keyboard height or tilt, you may also need to adjust wrist support, desk height, and chair posture.
The Role of the Wrist Rest
Once you steepen the board, a flat wrist rest may feel mismatched. An angled or taller rest can help keep your wrists from "hovering" and reduce shoulder tension.
Some examples from our own product line (brand-affiliated recommendations):
- The ATTACK SHARK Black Acrylic Wrist Rest includes an ergonomic incline that can complement more aggressive keyboard angles.
- The ATTACK SHARK Cloud Keyboard Wrist Rest uses high-density memory foam for users who want a softer counterbalance to a rigid, screw-modded chassis.
For compact layouts, matching width is important:
- The ATTACK SHARK 68 KEYS ACRYLIC WRIST REST is sized for smaller boards, helping avoid "desk overhang" that can interfere with wide mouse flicks.
You don’t have to use branded accessories, but whatever you pick should align with your keyboard’s new height and angle.
Safety and Compliance: The Modder’s Responsibility
When you open and modify a wireless keyboard, you’re changing a device that was originally certified under agencies such as the FCC or ISED Canada. Light internal mods for personal use are common in enthusiast communities, but you should still respect core safety principles.
RF Interference and Shielding
Metal spacers, relocated foam, or a changed PCB–case distance can slightly alter antenna performance. After reassembly:
- Test wireless signal strength at your usual play distance.
- If you see packet drops, increased latency, or unstable connection (for example, in tools like the NVIDIA Reflex Analyzer), your spacers or internal layout might be affecting RF behavior.
If issues appear, try:
- Reducing spacer height near the antenna, or
- Swapping metal spacers for non-conductive ones.
Battery Safety
If your keyboard uses a lithium-ion or lithium-polymer battery:
- Confirm that longer screws or spacers do not contact the battery pack.
- Avoid routing screws or hard edges near thin pouch cells.
Puncturing or crushing a lithium cell is a serious fire risk. The IATA Lithium Battery Guidance highlights the importance of robust housings and protection; while that document is aimed at transport, the same core idea applies: do not compromise the mechanical protection around your battery.
If you notice swelling, unusual heat, or physical damage to the pack during or after the mod, stop using the device and seek professional help or a replacement battery.
Summary of Technical Specifications for Angle Modding
Use this table as a quick reference. Values marked as heuristics come from hands-on workshop experience and example modeling, not formal standards.
| Component | Specification/Value | Application |
|---|---|---|
| Screw Type | M2 or M2.5 metric | Common in many compact cases (verify on your board) |
| Spacer Ratio (heuristic) | ~1mm height → ~1.5–2° angle change | Front corner elevation on compact layouts; verify with a gauge |
| Damping Material (shop heuristic) | O-rings around 70A durometer | Balance of support and acoustic control in our builds |
| Measurement Tool | Digital inclinometer | Target ±0.1° repeatability for angle tuning |
| Thread Pitch (example) | 0.4mm (M2 coarse) | Helps prevent stripping brass inserts when matched correctly |
Final Thoughts on Custom Inclination
Modding your case screws for a custom angle is a high-precision but accessible DIY project if you move slowly and respect the hardware limits. It helps you move beyond mass-market defaults and tune a board to your own anatomy and style.
In this article we:
- Showed an example Moore–Garg Strain Index calculation (48 → 24) to illustrate how wrist posture changes can affect a risk model under specific assumptions.
- Shared a 1mm → ~1.5–2° angle change heuristic and practical notes on screws, thread pitch, and fatigue.
- Highlighted material choices (like 70A O-rings) that have worked well in our workshop, while acknowledging they’re not universal rules.
Remember that ergonomics is an integrated system: keyboard angle, desk height, chair, mouse position, and wrist support all interact. A custom angle will work best when combined with a suitable desk setup and a well-matched wrist rest, whether that’s one of the Attack Shark acrylic rests linked above or another solution that fits your space.
Disclaimer: This article is for informational and educational purposes only. It describes DIY modifications based on practical experience and example modeling, not medical or engineering certification. Modifying your keyboard may void your warranty and carries inherent risks to the hardware. We are not responsible for any damage to your device or injury resulting from DIY modifications. If you have pre-existing wrist, hand, or other health conditions, consult a qualified ergonomic professional or healthcare provider before making significant changes to your setup. Brand/whitepaper references from Attack Shark and related resources are internal, brand-affiliated sources and should be interpreted as such, not as independent third-party standards.
References
- Moore, J. S., & Garg, A. (1995). The Strain Index
- Global Gaming Peripherals Industry Whitepaper (2026) – Attack Shark, brand-affiliated
- USB-IF HID Class Definition 1.11
- NVIDIA Reflex Latency Analyzer Guide
- IATA Lithium Battery Guidance Document
- FCC Equipment Authorization Database
- RTINGS Mouse Latency Methodology
- Effective Measures to Defeat Warpage Problem for PCBs
Hinterlasse einen Kommentar
Diese Website ist durch hCaptcha geschützt und es gelten die allgemeinen Geschäftsbedingungen und Datenschutzbestimmungen von hCaptcha.