


A coiled Aviator cable that sags or kinks is usually a handling problem, not proof the cable is ruined. If the coil still springs back when you let it go, gentle reverse-coiling and a routing fix will usually bring the shape back to your wired mechanical keyboard setup. If you see a sharp crease, a torn sleeve, or a loose connection instead, stop reshaping it and check with the cable maker before you try anything else.

This applies to coiled cables used on any wired mechanical keyboard, including detachable Aviator-style cords. Heat resetting can work on some cables, but only when you know the exact material and the maker's guidance for that cable. Skip the heat gun when you don't have that information.
Check Coil Elasticity and Visible Damage First
Unplug the cable from your wired mechanical keyboard and your computer before you inspect it. Lay it flat, let it relax for a minute, then watch how it behaves instead of pulling or twisting it right away.
A coil that has loosened from storage or repeated repositioning but still gathers itself back into loops when released is a good candidate for gentle handling or a routing change. A coil memory like this comes from how the cable was built in the first place: coiled cords get their spring-back from a controlled thermal process during manufacturing, not from the loops being bent in afterward. That means a cable that never rebounds at all may have lost that built-in shape rather than simply gotten loose.
Treat a sharp crease, a crushed or split section of sleeve, a connector that wiggles or feels loose, or intermittent keystrokes as reasons to stop. Forcing or heating a cable in that condition risks turning a cosmetic problem into a connectivity one. Everything past this point assumes the coil still rebounds and the connectors and sleeve look intact.
Reverse-Coil a Mildly Stretched Cable by Hand
Start by disconnecting the cable and laying it on a flat surface where nothing is pulling on either end. Working with it disconnected keeps the coil from fighting the weight of the keyboard or your computer while you reshape it.
Look at which way the existing coil winds, then roll the cable in the opposite direction one loop at a time instead of twisting the whole length at once. This gradual approach matches how enthusiasts commonly handle stretched coiled keyboard cables: work in the direction opposite the current coil and keep the connector from hanging off the section you're reshaping the loops by hand rather than letting its weight drag against the reshaped area.
Follow this sequence:
- Disconnect the cable and support both ends so nothing pulls on it.
- Identify the direction the coil currently winds.
- Roll the cable in the opposite direction, one loop at a time.
- Pause the moment you feel resistance instead of pushing through it.
- Let the cable rest for a few minutes, then check whether the loops hold their shape.
- Route the cable without tension before you judge the final result.
If the coil still looks loose after one careful pass, repeat the sequence rather than forcing more twist into a single loop. A cable that resists at every attempt, or that needs a sharp bend to look tight, is telling you hand correction has reached its limit for this coil.
Heat-Reset the Coil Only With Model-Specific Evidence
Heat resetting is a last resort, not the next step just because reverse-coiling didn't produce a perfect result. Only attempt it when you have exact, manufacturer-confirmed guidance for your specific cable's construction and heat tolerance.
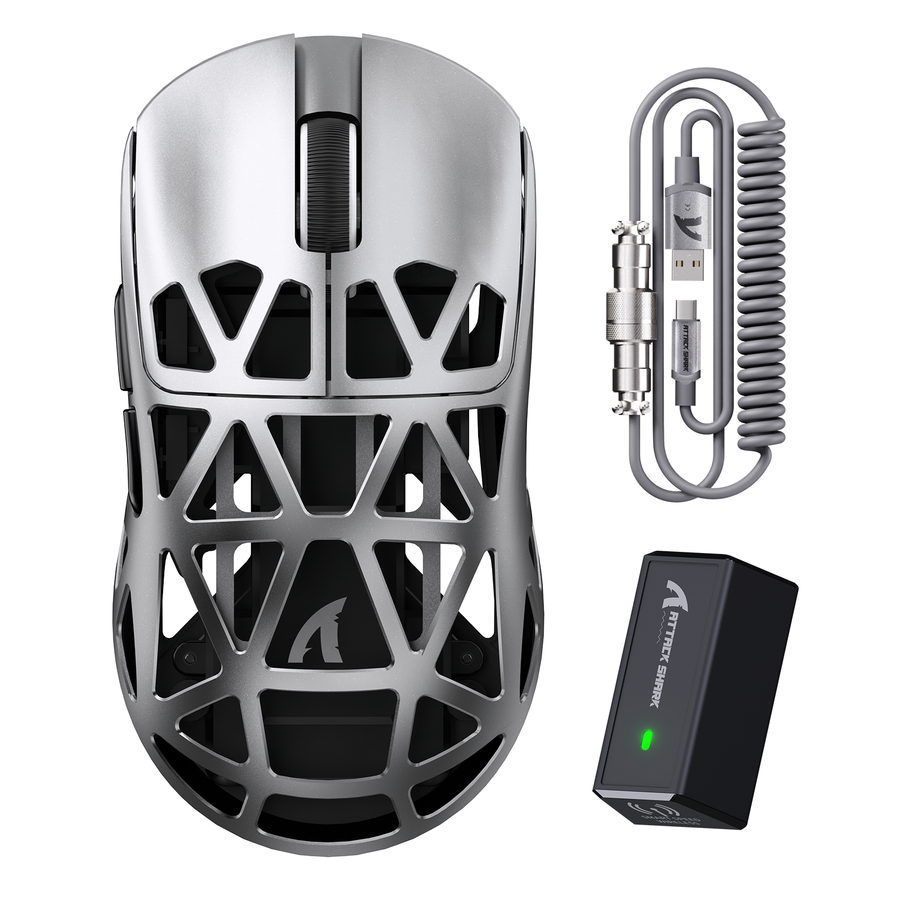
Material names alone don't answer that question. Our X66 wireless mechanical keyboard ships with a detachable coiled cable listed as TPU, and that record does not include a heat-reset temperature, timing, or procedure. The C01 Ultimate coiled cable lists PET and nylon outer materials with a detachable Aviator connector, and that record likewise gives no heat-forming instructions. A material label tells you what the sleeve is made from; it doesn't tell you whether that sleeve or the jacket underneath can handle a heat gun without softening, discoloring, or weakening.
If you do have confirmed guidance for your exact cable, a documented approach for keyboard cables follows this general sequence, without a universal temperature or timing that applies to every cable:
- Confirm the exact cable model and manufacturer permission for heat forming before doing anything else.
- Disconnect the cable and clear a heat-safe work area away from furniture and flammable material.
- Wrap the cable tightly and evenly around a wooden dowel, taping both ends so it can't unwind, keeping connector weight off the coiled section.
- Apply only the heat setting your manufacturer's guidance specifies, moving evenly and never holding the heat gun's dowel-forming technique in one spot.
- Let the cable cool completely while it's still wrapped on the dowel before touching it.
- Slide the dowel out and inspect the jacket, sleeve, and connectors for softening, discoloration, or damage.
- Reconnect the cable and test it with your keyboard before returning it to daily use.
- Stop immediately and contact the manufacturer if you notice unexpected softening, odor, discoloration, or any connection problem during or after this process.
Do not attempt this without model-specific permission. If the jacket, sleeve, or connector behaves differently than before, or the connection becomes intermittent, disconnect the cable and reach out to the manufacturer instead of repeating the heat step.
Route the Cable to Prevent Sagging and Side Pull
A reshaped coil can sag again if your desk setup keeps pulling on it the same way it did before. Match your routing to how the cable actually sits: suspended between two points, resting on the desktop, or stretched sideways between the keyboard and your computer.
For a suspended run, support enough of the cable's length that the coil isn't carrying the full weight of the connector or the keyboard end. For a cable resting on the desktop, let it lie naturally instead of pulling it sideways to reach a port that's out of line. Align the keyboard and computer ends so the Aviator connector isn't forced into a sharp turn at either plug.
Use this checklist after any reshaping or after moving your keyboard:
- Support the coil's length so no single point carries all the weight.
- Keep the Aviator and USB connectors from hanging unsupported off the coil.
- Line up the cable path with both ports instead of angling it sideways.
- Leave enough slack for movement without letting the coil sag in a loop.
- Avoid routing the cable around a sharp corner or tight gap.
- Recheck the route after repositioning your keyboard; recurring sag usually means it needs a support or slack change, not another reshaping pass.
If a kink or connection issue returns right after you fix the routing, that's a sign to revisit the inspection step and confirm the cable is still in the condition that allows further correction.
FAQs
Why does my coiled cable sag again after I reshape it?
Recurring sag after a successful reshape almost always points back to routing rather than the coil itself. Check whether the cable's unsupported length, a sideways pull between ports, or connector weight is loading the coil again, and fix that support or alignment before you reshape it a second time.
Can I use a heat gun on an X66 or C01 coiled cable?
Not based on the material name alone. The X66 cable is listed as TPU and the C01 cable lists PET and nylon outer materials, but neither product record includes a heat-reset temperature or procedure, so the safe default is no heat unless you get exact confirmation from the manufacturer for that specific cable.
What should I do if the cable disconnects after reshaping?
Treat a new intermittent connection, a loose-feeling connector, or visible damage at the joint as a stop signal rather than something to work around. Disconnect the cable and contact the manufacturer for guidance or replacement support instead of continuing to use or reshape it.