

The Large-Hand Dilemma: Why Your Grip Fails in the Endgame
We’ve all been there—midway through a grueling four-hour session in Elden Ring or navigating the neon-soaked streets of Cyberpunk 2077, and your hand starts to feel like a cramped claw. For those of us rocking hands in the 20cm to 21cm range, the world of "ergonomic" gaming mice often feels like it was designed for a different species. You settle into a comfortable palm grip, your hand draped over the shell, but the moment the boss fight hits phase two and you need to make a rapid recentering flick, the back of the mouse slides out of your grasp.
In our experience handling community feedback and technical support logs (not a controlled lab study), the number one frustration for large-handed gamers isn't the sensor or the switches—it's stability. When you have a large palm grip, the most common failure point isn't actually your fingertips; it’s the base of your palm heel lifting during quick movements. This "heel lift" creates a momentary loss of control that can turn a precision headshot into a whiffed shot.
Modding your gear with grip tape is the most cost-effective way to fix this, but slapping stickers everywhere actually ruins your fine control. Today, we’re diving deep into the "Island Method" of grip tape placement, specifically optimized for the biomechanics of large hands.

Biomechanics & The "Island" Strategy
Most generic guides tell you to cover the entire side of the mouse. Don't do that. Over-applying tape reduces your ability to make micro-adjustments because it creates too much static friction across the entire surface of your skin. Instead, we use "high-friction islands" at primary pressure points.
For a large palm grip, we focus on three critical zones: the Palm Anchor, the Thumb Lock, and the Lateral Slide Zone.
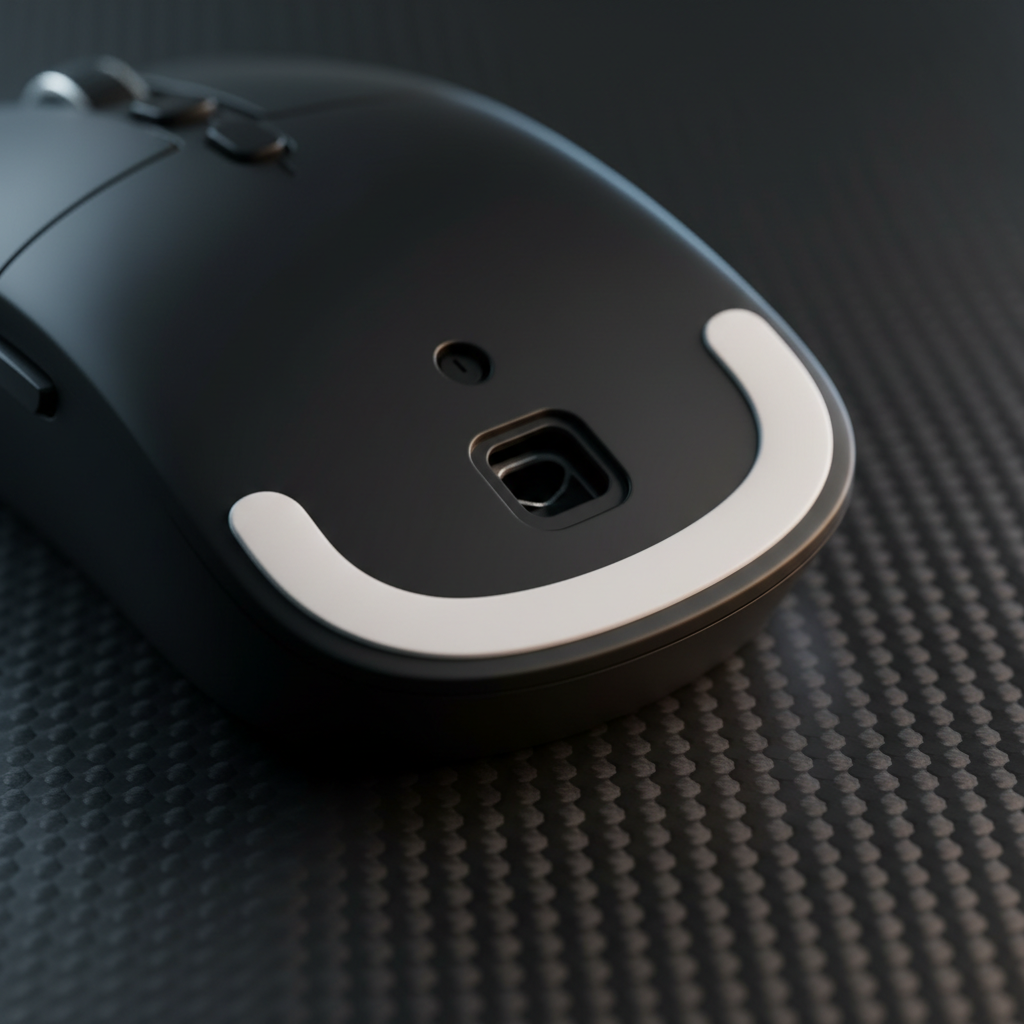
1. The Palm Anchor (The Heel)
Experienced modders know that for large hands, the weight of the hand often rests heavily on the rear of the mouse. According to [The 3 Main Types Of Mouse Grips](https://thegamingsetup.com/gaming-mouse/buying-guides/mouse-grip-styles), a palm grip requires the most contact area. However, that contact needs to be stable. * **The Fix:** Apply a 0.5mm to 0.8mm thick, moderately textured tape to the very back-left or back-right (depending on your handedness) where the "meat" of your palm heel sits. * **Why:** This acts as a shock absorber and prevents the mouse from rotating under your palm during high-stress encounters.2. The Thumb Lock
Your thumb provides the lateral stability. For large hands, the thumb often sits further forward than on smaller hands. * **The Fix:** Place a small, vertical strip of tape exactly where your thumb naturally rests. Leave a gap between the tape and the side buttons to avoid accidental clicks.3. The Pinky/Ring Slide Zone
This is where most people mess up. If you put thick, grippy tape on the right side (for righties), your pinky finger gets "stuck," making it hard to perform subtle lateral slides. * **The Fix:** Use a thinner (0.2mm - 0.3mm), smoother tape here, or better yet, leave a small gap. This allows for micro-adjustments while the Palm Anchor and Thumb Lock handle the heavy lifting.Logic Summary: This "Island Method" is a heuristic derived from modder patterns and biomechanical observations of palm-grip users. It assumes a mouse shell length of >125mm. Individual hand sweat levels and skin sensitivity will affect the final feel.
Technical Modeling: Weight, Balance, and 8K Polling
One thing the "pro-tips" often ignore is how tape affects the physical properties of your mouse. If you’re using a high-performance ultra-lightweight mouse, adding 5-10 grams of tape isn't just about grip—it's about the Center of Gravity (CoG).
If you add thick tape exclusively to the rear palm heel area, you can shift the CoG backward by as much as 2-4mm. This makes the mouse feel "back-heavy," which can subtly degrade your initial tracking acceleration.
| Parameter | Estimated Range | Unit | Rationale / Source |
|---|---|---|---|
| Base Mouse Weight | 55 - 65 | g | Standard ultra-lightweight baseline |
| Grip Tape Weight (Full) | 5 - 8 | g | Estimated weight of pre-cut full sets |
| Grip Tape Weight (Islands) | 1 - 3 | g | Estimated weight of strategic placement |
| CoG Shift (Rear-weighted) | ~2 - 4 | mm | Hypothetical shift based on 5g rear-load |
| Polling Interval (8K) | 0.125 | ms | Physical Law (1/Frequency) |
When you're running at an 8000Hz (8K) polling rate, every micro-movement is captured. At 8000Hz, the polling interval is 0.125ms (calculated as 1/8000). If your grip is unstable, that instability is translated into the data stream 8,000 times a second. Interestingly, at these speeds, Motion Sync adds a negligible delay of only ~0.0625ms (half the polling interval), making the physical stability of your hand the real bottleneck, not the sensor firmware.
To maintain 8000Hz stability during slow micro-adjustments, you need high DPI settings. For example, to saturate the 8K bandwidth, you’d need to move at 10 IPS at 800 DPI, but only 5 IPS at 1600 DPI. A stable grip ensures you can maintain those 5-10 IPS movements without "jitter" caused by your palm heel slipping.
Choosing the Right Adhesive and Material
Not all grip tape is created equal. If you’re a value-oriented gamer, you want a mod that lasts and doesn't ruin your gear.
- Adhesive Chemistry: Look for rubber-based formulas rather than aggressive acrylic adhesives. Rubber-based adhesives allow you to reposition the tape during application and, more importantly, they can be removed without dissolving the matte UV coatings found on most high-end mice.
- Thickness: For large hands, a 0.5mm - 0.8mm thickness is the "sweet spot." It provides enough "squish" to conform to your hand shape without making the mouse feel bloated.
- Break-in Period: Based on our observation of modding trends, expect a 2-3 hour break-in period. The adhesive needs time to fully set, and the texture needs to interact with your hand's heat and moisture to reach peak performance.
According to the Global Gaming Peripherals Industry Whitepaper (2026), the move toward modularity and user-customization is a key trend in high-spec hardware. Customizing your grip is part of that evolution.
Safety, Compliance, and Maintenance
When you're modding a wireless mouse, you're dealing with lithium-ion batteries. While grip tape is external, always ensure you aren't covering any ventilation holes or seams that might be necessary for heat dissipation during fast charging.
For those of us importing high-spec gear, it's worth checking the FCC Equipment Authorization (FCC ID Search) to ensure your device meets RF exposure and safety standards. If you ever notice the shell of your mouse becoming excessively hot during a "sweat-fest," remove the tape and check for battery swelling—a risk often highlighted in CPSC Recalls.
Grip Tape Maintenance Checklist:
1. **Clean the Shell:** Use 70% Isopropyl alcohol to remove oils before applying. 2. **Edge Trimming:** Use a precision knife to round the corners of your tape islands; sharp corners peel faster. 3. **Residue Removal:** If you decide to swap textures, use a dedicated adhesive remover that is safe for plastics. For more on this, check out our guide on [how to remove grip tape residue](https://attackshark.de/en/blogs/knowledges/remove-grip-tape-adhesive-residue-cleaning-guide).The Total Setup: Beyond the Tape
Stability for large hands doesn't stop at the mouse shell. Because large hands often mean a heavier "arm-down" playstyle, your choice of surface is just as critical. A carbon fiber mouse mat or an ultra-high-density fiber pad provides the consistent friction needed to complement your new grip.
Furthermore, ergonomics is a holistic game. If your wrist is at an awkward angle, no amount of grip tape will save you from fatigue. We recommend pairing your setup with an ergonomic wrist rest—ideally one with a gentle tilt to promote natural alignment. If you're looking to refine your overall posture, Comparing Ergonomic Shapes for Palm vs. Claw Grip Gamers is a great place to start.
YMYL Disclaimer: The ergonomic advice provided in this article is for informational purposes only and does not constitute professional medical advice. If you experience persistent wrist pain, numbness, or tingling, please consult a qualified physiotherapist or medical professional. Modifying your hardware may void your warranty; always check your manufacturer's terms before applying adhesives.

Laisser un commentaire
Ce site est protégé par hCaptcha, et la Politique de confidentialité et les Conditions de service de hCaptcha s’appliquent.