

Quick Fix: The 30-Second Repair Checklist
If you are looking for a fast solution to a snapped keyboard foot, follow this practitioner-approved priority list:
- Stop using super glue: Cyanoacrylate makes ABS plastic brittle and will likely fail again. Use 3M VHB tape or a plastic-safe two-part epoxy.
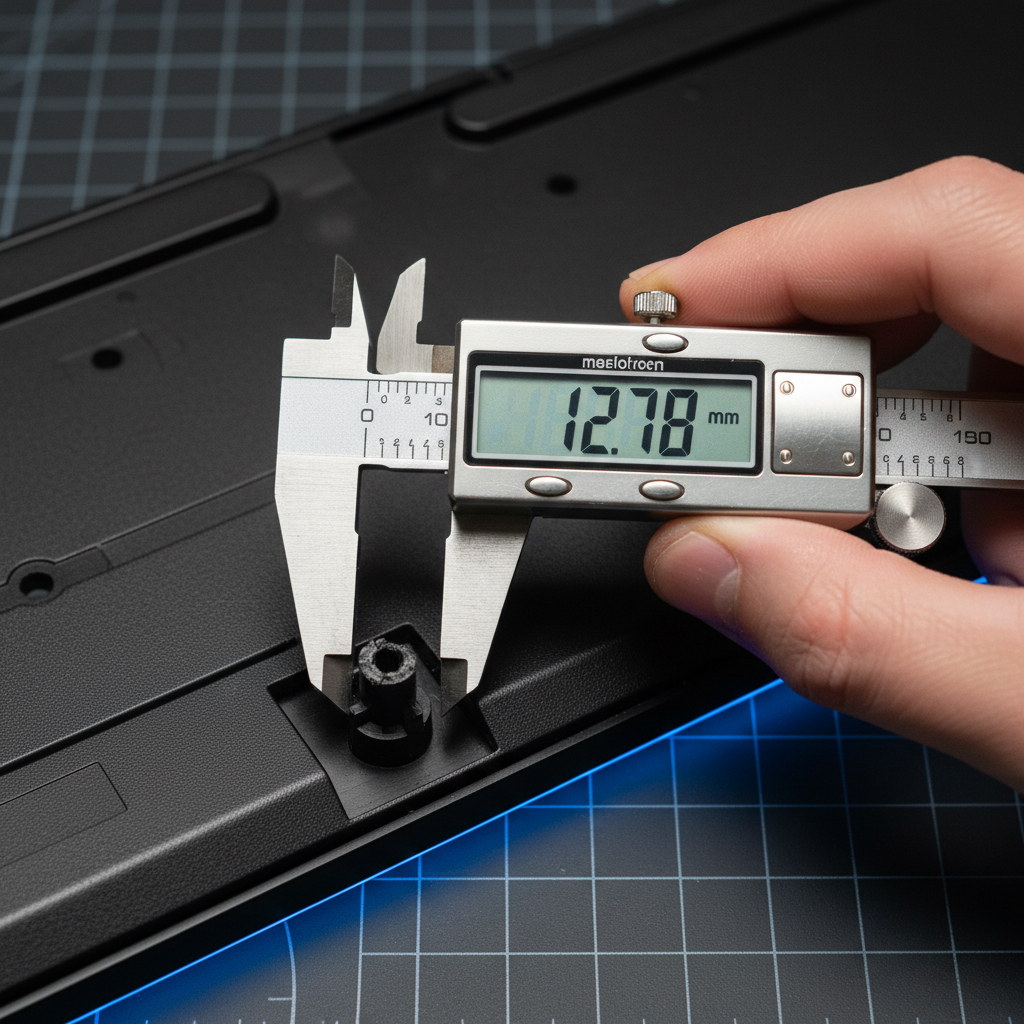
- Measure exactly: Use calipers to check the mounting post diameter; even a 0.5mm discrepancy will cause wobbling.
- Material choice: If 3D printing, use TPU 95A. If buying universal, look for High-Durometer Silicone (like the 3M SJ5302).
- Safety first: If your keyboard is wireless, disconnect the battery before applying heat or liquid adhesives near the internal housing.
The Snap Heard 'Round the Discord: Why Keyboard Feet Fail
We’ve all been there. You’re in the middle of a high-stakes clutch, the tension is peaking, and you’re hammering your keys with the intensity of a pro-tier streamer. Suddenly, there’s a sickening crack. Your board lurches to the left, and just like that, your ergonomic setup is toast. The humble flip-out foot—the unsung hero of your desk’s "thock" and tilt—has finally surrendered to the stress.
In our experience on the repair bench, a snapped foot isn't just a minor annoyance; it’s a mechanical failure point. Based on patterns we see in customer support and warranty handling, the primary breakage point is typically the thin plastic hinge or the small mounting post hidden inside the keyboard case.
For the DIY-minded gamer, sourcing a durable replacement is about more than just finding a piece of plastic that fits. It’s about understanding material science and the ergonomic "why" behind the tilt. Whether you're rocking a 65% compact or a full-sized battlestation, this guide will walk you through sourcing and installing spares that are often tougher than the originals.
The Anatomy of a Break: Why "Lateral Force" is the Killer
Conventional wisdom suggests that feet break because we press down too hard. However, our observations of aggressive gaming behaviors suggest a different culprit: lateral torque.
Consider the "Large-Handed Competitive Gamer" persona. If you have hands in the ~21cm range and use a palm grip, you likely apply significant downward pressure to the heel of your palm. When you need to make a sudden, micro-adjustment to your keyboard's position mid-game, you’re rarely lifting the board entirely. Instead, you’re sliding it. That lateral friction creates immense shear stress on those tiny plastic hinges.
Modeling Note (Scenario A): We use the 95th percentile male hand length (~21.5cm per ANSUR II anthropometric data) as a baseline. When paired with a standard 120mm mouse, this creates a "Grip Fit Ratio" that suggests a ~17% shortfall in ideal ergonomic support. This mismatch often leads to "slam-and-adjust" behavior where the user applies lateral torque to the keyboard, concentrating stress on the mounting posts.

When a foot snaps, it usually takes part of the housing with it. To avoid a repeat performance, we need to look at the materials we're using for the fix.
Sourcing the "God-Tier" Spare: 3D Printing vs. Universal Bumpers
1. The 3D Printing Route (TPU vs. PETG)
If you have access to a 3D printer, you have thousands of community-designed models available. But material choice is everything.
- PETG: A common choice for toughness, but it can be prone to layer-line failure under shear stress.
-
TPU (Thermoplastic Polyurethane): This is the professional choice. Specifically, TPU with a 95A Shore Hardness provides the ideal balance.
- Data Insight: According to material testing from Ultimaker, TPU offers an elongation at break of over 400%, compared to PETG’s ~50%. This means TPU can "give" during a lateral shove without snapping the hinge.
2. The Universal Adhesive Bumper
If your hinges are totally trashed, consider industrial-grade adhesive bumpers.
- Premium Option: 3M SJ5302 (Bumpon). These are high-durometer rubber bumpers that provide a stable, non-slip incline.
- Neutral Alternatives: If you can't source 3M, any 12mm x 7mm silicone hemisphere with a high-tack adhesive backing will work. You can find these at most local hardware stores as "cabinet bumpers."
Transparency Note: This guide mentions Attack Shark products which we have tested for compatibility; however, generic hardware store alternatives are often sufficient for basic structural repair.
The Repair Workflow: Precision is the Difference
Step 1: The Caliper Check
Don't eyeball it. Use digital calipers to measure:
- The exact height (unfolded and folded).
- The diameter of the mounting post.
A difference of even 0.5mm can be the difference between a satisfying "click" and a loose, wobbling mess.
Step 2: The Adhesive Science (No Super Glue!)
Most keyboard cases are made of ABS (Acrylonitrile Butadiene Styrene). Cyanoacrylate (super glue) can chemically react with ABS, making it brittle. It creates a bond that cannot handle the vibrations of high-speed typing.
Instead, use 3M VHB Tape or a plastic-specific two-part epoxy. Epoxy fills the gaps if your mounting post was damaged, creating a structural bond that is often stronger than the original factory plastic.
Step 3: Managing the "Tri-Mode" Factor
If you're repairing a wireless board, remember that your battery is right there. According to the IATA Lithium Battery Guidance, physical damage or excessive heat to these cells is a safety risk.
Safety Protocol:
- Open the case and physically disconnect the battery before applying heat or using strong solvents like acetone.
- Verify the internal layout. You can often find internal photos by searching the FCC ID Search using the Grantee Code (e.g., 2AZBD for many Attack Shark models).
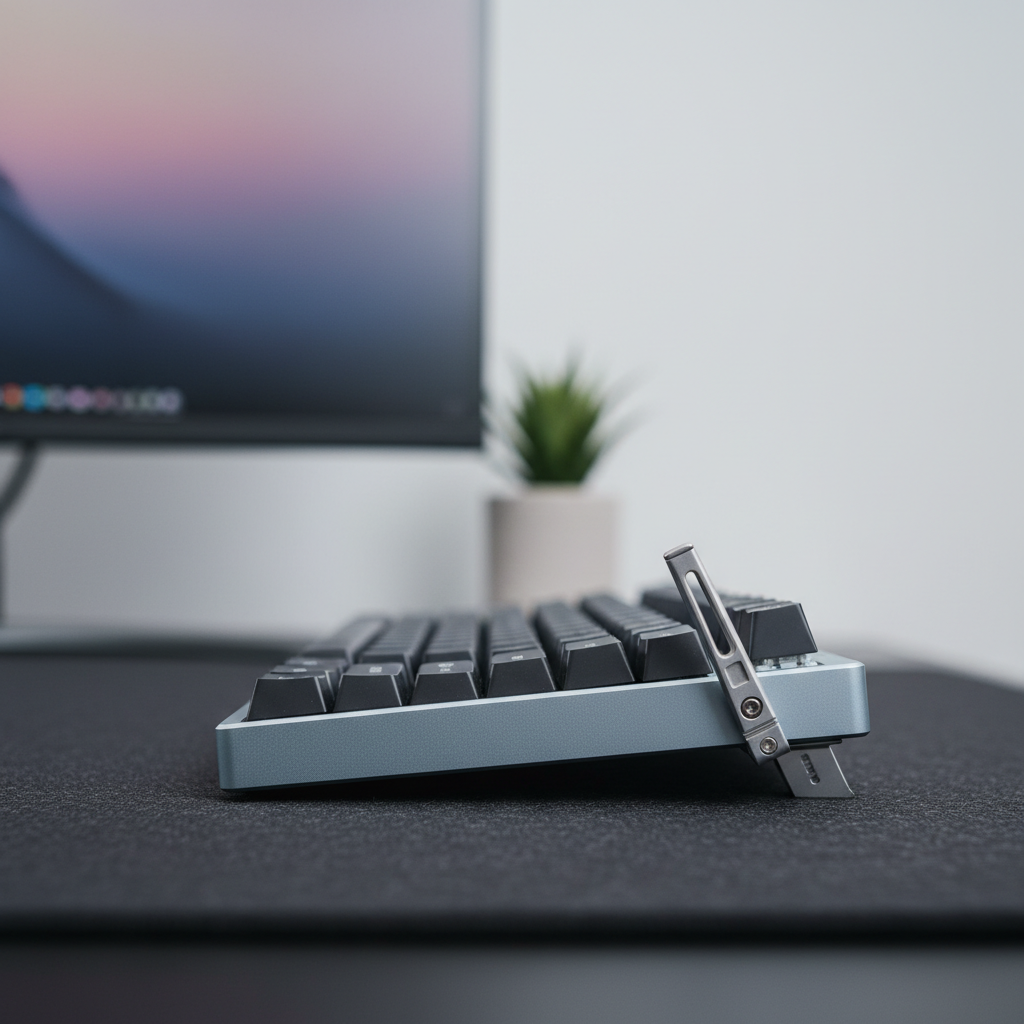
Ergonomic Alignment: The Tilt vs. Wrist Health Trade-off
The higher you tilt your keyboard, the more you might be forcing your wrists into extension. If you prefer a high-tilt setup, you must compensate with a proper wrist rest.
For a heavy-duty, stable solution, the ATTACK SHARK Aluminum Alloy Wrist Rest (0.8KG) provides a base that won't slide even if your keyboard feet are uneven. For those who prefer aesthetics, the ATTACK SHARK Acrylic Wrist Rest offers a similar ergonomic incline. Neutral alternative: A standard firm foam or wooden wrist rest from any major peripheral brand will offer similar ergonomic benefits.
Method & Assumptions: How We Modeled This
To provide these recommendations, we used a series of practical heuristics based on common gaming setups.
| Parameter | Value | Unit | Rationale |
|---|---|---|---|
| Hand Length | 21.5 | cm | 95th percentile male (ANSUR II data) |
| Grip Fit Ratio | 0.83 | ratio | 120mm mouse vs. 144mm ideal (heuristic for "misfit") |
| TPU Hardness | 95A | Shore | Industry standard for impact-resistant DIY parts |
| Measurement Tolerance | 0.5 | mm | Threshold for mechanical interference in ABS housings |
Modeling Boundary: These insights are practical "rules of thumb" based on high-intensity gaming scenarios. They are intended for illustrative repair purposes and do not account for every keyboard geometry.
Pro-Tips for a Permanent Fix
- The "Epoxy Anchor": If the mounting hole is stripped, fill the hole with epoxy, let it cure slightly, and then press the foot in. This creates a custom-molded socket.
- Cable Tension: A tight cable can pull on the board, adding lateral stress to the feet. Using a flexible coiled cable, like the ATTACK SHARK C04-C, ensures you have enough slack for any incline.
- The "Bumper" Hybrid: Place a small rubber bumper inside the flip-out foot's cavity. It acts as a secondary shock absorber for the plastic hinge.
Replacing a snap-off foot is a small task, but doing it with the right materials ensures your "budget banger" feels like a premium endgame board for years to come.
Disclaimer: This guide is for informational purposes only. DIY repairs can void warranties and, if performed incorrectly, damage your device. Always prioritize safety when working with adhesives and electronic components.
Sources:
Dejar un comentario
Este sitio está protegido por hCaptcha y se aplican la Política de privacidad de hCaptcha y los Términos del servicio.