
Die Mechanik der magnetischen Stabilität: Warum Leertasten eine spezielle Abstimmung benötigen
Magnetische Tastaturen, die Hall-Effekt-(HE)-Sensoren verwenden, haben die Landschaft des kompetitiven Gamings erheblich verändert, indem sie einstellbare Auslösepunkte und Rapid-Trigger-Funktionen bieten. Diese Empfindlichkeit bringt jedoch eine einzigartige technische Herausforderung mit sich: das „Fehlzünden schwerer Tastenkappen“. Im Gegensatz zu herkömmlichen mechanischen Schaltern, die auf einer physischen Blattfeder basieren, um einen Stromkreis zu schließen, erkennen magnetische Schalter die Position eines Magneten relativ zu einem Sensor auf der Leiterplatte.
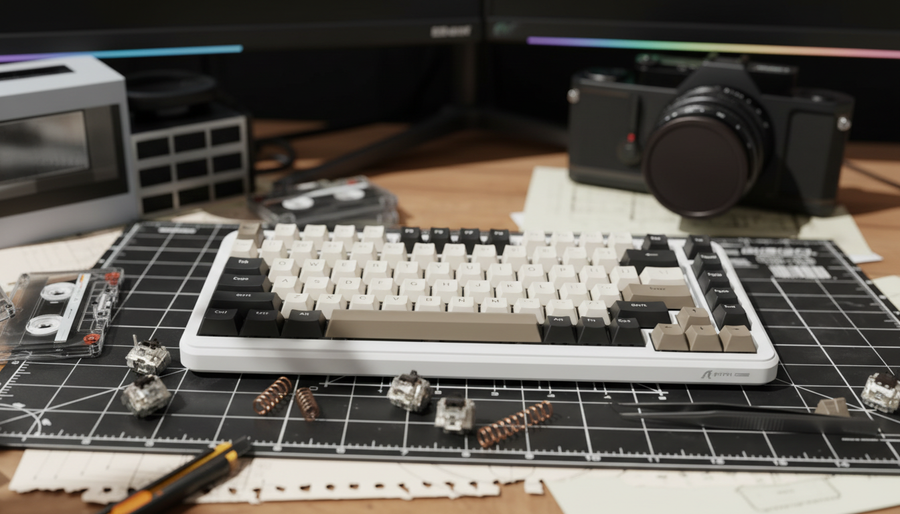
Aus unserer Erfahrung bei der Fehlerbehebung von Enthusiasten-Builds an der Reparaturwerkbank haben wir festgestellt, dass die Leertaste ein häufiger Schwachpunkt für magnetische Stabilität ist. Die Masse einer 6,25u- oder 7u-Leertaste – besonders wenn sie aus hochdichten Materialien wie Double-Shot-PBT oder Artisan-Harz gefertigt ist – kann genug Abwärtskraft ausüben, um den Magneten nahe der Auslöseschwelle schweben zu lassen. In Kombination mit hochbeschleunigten Vibrationen kann dies zu versehentlichen „Geister“-Tastendrücken oder verhinderten Rücksetzungen führen.
Um dies anzugehen, schauen wir über den einfachen Schaltertausch hinaus und betrachten die Physik von Federgewichten, magnetischen Flussgradienten und Softwarekalibrierung. Diese Anleitung bietet einen praktischen Rahmen, um Ihre Leertaste so einzustellen, dass ein Gleichgewicht zwischen Reaktionsfähigkeit und struktureller Stabilität erreicht wird.

Die Physik des „Fehlzündens“: Masse vs. magnetischer Fluss
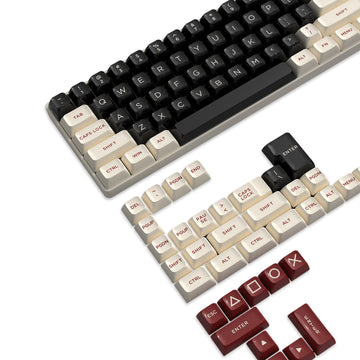
Um zu verstehen, warum eine Leertaste sich anders verhält als eine „Alpha“-Taste (wie „A“ oder „S“), müssen wir die Beziehung zwischen statischem Gewicht und dem Abtastintervall des Magnetsensors betrachten. Eine Standard-1u-PBT-Tastenkappe wiegt typischerweise zwischen 1 und 1,5 Gramm. Im Gegensatz dazu kann eine dicke 6,25u-PBT-Leertaste über 5 Gramm wiegen, während kunsthandwerkliche Resin- oder Messing-gewichtete Leertasten 10 Gramm oder mehr erreichen können.
Laut der USB HID-Klassendefinition (HID 1.11) kommunizieren Tastaturen über Berichtsbeschreibungen, die den Zustand jeder Nutzungs-ID definieren. In einem Magnetsystem übersetzt die Firmware die analoge Spannung des Hall-Effekt-Sensors in diese digitalen Berichte. Wenn die statische Masse der Tastenkappe die Feder erheblich zusammendrückt, sitzt der Magnet tiefer in der „aktiven Zone“ des Sensors.
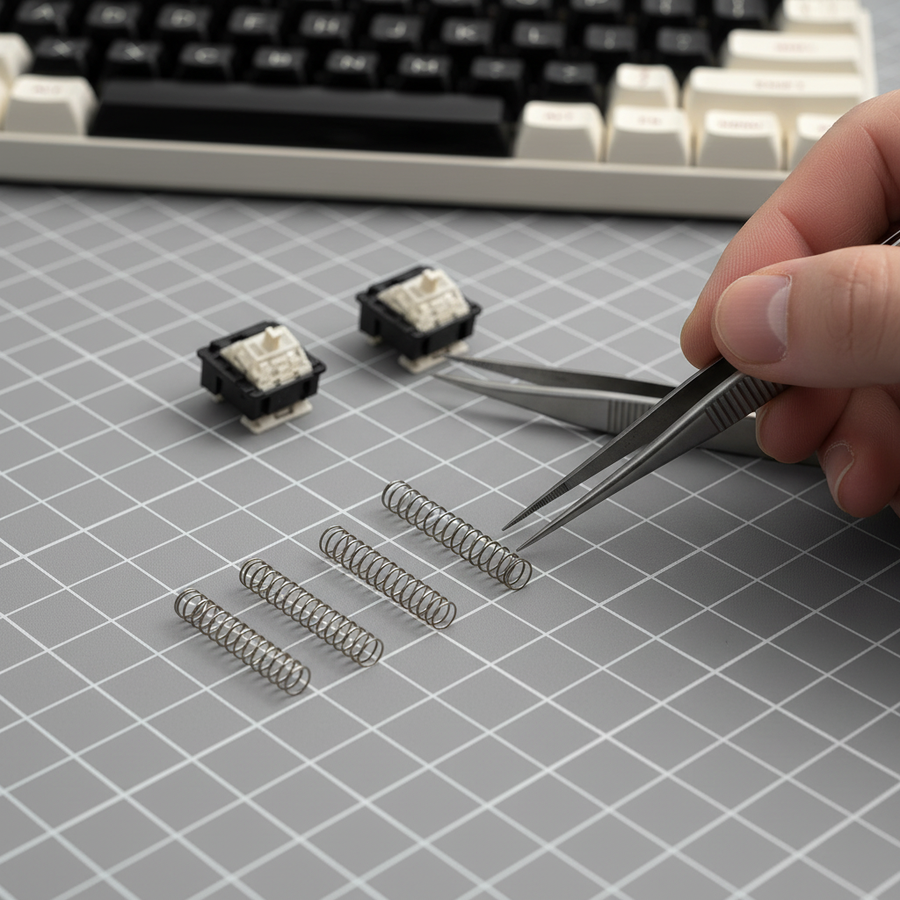
Messung Ihrer Einrichtung: Eine Schritt-für-Schritt-Anleitung
Bevor Sie eine Feder auswählen, sollten Sie die „Anfangskraft“ Ihrer aktuellen Hardware überprüfen (die Kraft, die erforderlich ist, um die Abwärtsbewegung zu starten).
- Werkzeuge: Verwenden Sie eine präzise digitale Waage (0,01g Auflösung) und, falls verfügbar, ein Miniatur-Kraftmessgerät oder den „Nickel-Test“ (ein US-Nickel wiegt ca. 5,0g).
- Messen Sie die Masse der Tastenkappe: Entfernen Sie Ihre Leertaste und wiegen Sie sie auf der Waage.
-
Bestimmen Sie die Anfangskraft: Mit dem Schalter im eingebauten Zustand auf der Tastatur verwenden Sie ein Kraftmessgerät, um die genaue Kraft in Gramm zu ermitteln, die erforderlich ist, um den Schaft aus der 0,0-mm-Position zu bewegen.
- Alternative: Stapeln Sie vorsichtig Münzen auf dem Schaft, bis dieser zu sinken beginnt; berechnen Sie das Gewicht der Münzen.
- Zulässiger Fehler: Erlauben Sie eine Toleranz von ±0,5g aufgrund von Reibung oder Stabilisatorfett.
Die 1,5x-Heuristik für die Anfangskraft
Basierend auf Mustern, die in unserem Modding-Labor beobachtet wurden, verwenden wir eine Heuristik (Faustregel), um versehentliche Auslösungen zu verhindern:
Die Anfangskraft-Regel: Die Anfangskraft der Feder sollte idealerweise das statische Gewicht der Tastenkappe um mindestens den Faktor 1,5x übersteigen.
Beispielsweise sollte bei Verwendung einer 5g PBT-Leertaste die Feder am oberen Anschlag mindestens 7,5g Aufwärtskraft liefern. Dies stellt sicher, dass die Tastenkappe nicht durch ihr eigenes Gewicht in die Auslösezone „einsinkt“. Viele 35g- oder 45g-lineare Federn haben eine Anfangskraft von nur 25g, was möglicherweise nicht ausreicht, um das Hebelverhältnis und die Masse einer schweren Artisan-Leertaste auszugleichen.
Analyse der Federgewichte: Lineare vs. Progressive Kennlinien
Beim Tuning magnetischer Tasten ist die Wahl der Federkennlinie ebenso wichtig wie das Gewicht. In einer Hall-Effekt-Umgebung bietet eine „Langsame Kennlinie“ oder „Lineare“ Feder eine vorhersehbare Kraftzunahme, die für die Firmware oft leichter auf eine bestimmte Auslösetiefe abgebildet werden kann.
Empfohlene Federgewichtstabelle für magnetische Leertasten
| Keycap-Material | Typisches Gewicht (6,25u) | Empfohlene Feder (Anfangs-/Durchschlagkraft) | Begründung |
|---|---|---|---|
| Dünnes ABS | ~2g | 50g / 60g Linear | Standardgewicht; ermöglicht leichte Auslösung. |
| Double-Shot PBT | 4g – 6g | 60g / 67g Linear | Wirkt der Dichte von PBT entgegen und erhält die Geschwindigkeit. |
| Artisan-Harz | 7g – 10g | 65g / 78g Progressiv | Verhindert „träge“ Rückkehr und versehentliche Auslösungen. |
| Messing / Metall | 12g+ | 80g+ Maßgeschneidert | Notwendig, um zu verhindern, dass die Taste im Ruhezustand auslöst. |
Quellentyp: Diese Empfehlungen basieren auf Erfahrungen aus der Reparaturwerkstatt und Muster der Enthusiasten-Community. Sie gehen von einer Standard-Hall-Effekt-Sensitivität aus (z. B. 0,1mm Auflösung). Test-Tipp: Führen Sie immer einen „Step-Test“ durch – beginnen Sie mit einer leichteren Feder und erhöhen Sie nur, wenn Sie „Ghosting“ oder eine langsame Rückkehr feststellen.
Software-Synergie: Auslösepunkte und Rapid Trigger
Während physische Federwechsel die Grundlage bilden, wird die Leistung einer magnetischen Tastatur durch Software optimiert. Wie im Global Gaming Peripherals Industry Whitepaper (2026) erwähnt, bewegt sich die Branche in Richtung „Hybrid-Tuning“, bei dem Hardware und Software gemeinsam angepasst werden.
Der Rapid Trigger Vorteil
Eine schwerere Feder auf der Leertaste kann einen niedrigeren Software-Auslösepunkt ermöglichen. Eine 67g-Feder kann es erlauben, den Auslösepunkt sicher auf 0,5mm oder 0,2mm zu senken, ohne versehentliche Sprünge zu riskieren.
Modellhinweis: Rapid Trigger Vorteil (Reset-Zeit Delta)
Dieses Modell vergleicht eine Standard-Mechanik mit einer abgestimmten magnetischen Konfiguration unter Verwendung einer schweren Feder und Rapid Trigger (RT)-Einstellungen.
| Parameter | Wert | Einheit | Annahme |
|---|---|---|---|
| Finger-Lift-Geschwindigkeit | 120 | mm/s | Aggressive Hebegeschwindigkeit für den Wettkampfspielbetrieb. |
| Mechanische Reset-Distanz | 0.5 | mm | Typische Hysterese für mechanische Schalter. |
| Magnetische RT-Reset-Distanz | 0.1 | mm | Optimierte RT-Einstellung ermöglicht durch schwere Feder. |
| Mechanische Entprellung | 5 | ms | Erforderlich für physische Kontaktschalter. |
Berechnungslogik:
- Mechanischer Zyklus: (0,5mm / 120mm/s) + 5ms (Entprellung) = ~9,17ms
- Magnetischer Zyklus: (0,1mm / 120mm/s) + 0ms (Entprellung) = ~0,83ms
- Ergebnis: In diesem speziellen Szenario kann das magnetische Setup einen theoretischen ~8,34ms Latenzvorteil pro Tastendruckzyklus bieten. Hinweis: Tatsächliche Ergebnisse variieren je nach Firmware-Abfrage und Nutzergeschwindigkeit.
Ergonomische Auswirkungen: Der Moore-Garg Belastungsindex
Während schwere Federn das Fehlauslösen-Problem lösen, können sie ergonomische Kompromisse mit sich bringen. Laut den CDC/NIOSH-Richtlinien zur Ergonomie sind Haltung und Dauer entscheidende Variablen für die muskuloskelettale Gesundheit.
Modellierung eines Hochintensitätsszenarios
Um das potenzielle Risiko zu veranschaulichen, haben wir den Moore-Garg Belastungsindex (SI) auf einen hypothetischen Wettkampfspieler angewendet, der während einer 8-stündigen Sitzung eine 78g-Leertaste-Feder verwendet.
- Intensitätsfaktor: 2,0 (Hohe Betätigungskraft)
- Aufwände pro Minute: 5,0 (Hohe APM beim Gaming)
- Haltungsfaktor: 1,5 (Aggressiver Handgelenk-/Daumenwinkel)
- Dauer pro Tag: 2,0 (Längere Sitzungen)
Berechneter SI-Wert: 48,0 Risikokategorie: Hohes Risiko (SI > 5)
Wichtig: Kontextualisierung des Belastungsindex Dies ist ein szenariobasiertes Screening-Modell unter Verwendung der Moore & Garg (1995) Formel. Es ist ein illustratives Beispiel, keine medizinische Diagnose. Ein Wert über 5 deutet darauf hin, dass das Setup für bestimmte Nutzer ein Risiko darstellen kann. Wenn Sie anhaltende Schmerzen haben, empfehlen wir sofort auf ein leichteres Setup umzusteigen und professionelle medizinische Beratung einzuholen.
Professionelle Gegenmaßnahmen
- Handgelenkshaltung: Achten Sie darauf, dass Ihre Handgelenke neutral sind. Die Verwendung einer ergonomischen Handgelenkauflage kann helfen, die Ausrichtung zu erhalten.
- Leichtgewichtige Alternative: Wenn 78g ermüdend sind, probieren Sie eine 62g „Slow Curve“-Feder, die eine hohe Anfangskraft mit einem besser kontrollierbaren Durchschlag bietet.
- Regelmäßige Intervalle: Befolgen Sie die 20-20-20-Regel oder machen Sie alle Stunde 5-minütige Pausen.
Stabilisator-Einstellung: Die übersehene Variable
Ein häufiger Fehler ist, die Feder auszutauschen, ohne die Stabilisatoren neu einzustellen. Eine schwerere Feder übt mehr Aufwärtsdruck auf den Stabilisator-Draht aus. Wenn Ihre Stabilisatoren nicht richtig geschmiert oder unausgeglichen sind, kann die schwerere Feder diese Probleme verstärken.
Der „Klemm“-Effekt
Eine 78g Feder kann dazu führen, dass der Stabilisator „klemmt“, wenn der Draht nicht gerade ist, was ein „schlaffes“ Gefühl verursacht.
Schnell-Checkliste: Der Trockenrücklauf-Test
- [ ] Installieren Sie die neue Feder.
- [ ] Drücken Sie die Leertaste am äußersten linken Rand; lassen Sie los.
- [ ] Drücken Sie die Leertaste am äußersten rechten Rand; lassen Sie los.
- [ ] Ergebnis: Wenn die Taste nicht sofort zurückschnappt, überprüfen Sie die Geradheit des Stabilisator-Drahts oder überschüssiges Fett, das Saugeffekte verursacht. Stellen Sie sicher, dass Ihre Stabilisatoren den IEC 62368-1 Haltbarkeitsprinzipien entsprechen.
Konformität und Sicherheit: Kabellose magnetische Tastaturen
Viele moderne magnetische Tastaturen sind kabellos und enthalten Lithium-Ionen-Akkus. Beim Modden ist es wichtig, die Integrität des Batteriefachs zu erhalten.
Batteriesicherheit und Transport
Wenn Sie zu einem Turnier reisen, beachten Sie die IATA Lithiumbatterie-Richtlinien. Die meisten Tastaturen fallen unter UN3481.
- UN 38.3 Tests: Stellen Sie sicher, dass der Akku Ihrer Tastatur den UN-Test- und Kriterienleitfaden bestanden hat.
- FCC/CE-Konformität: Das Modifizieren interner Schalter führt normalerweise nicht zum Verlust der FCC Gerätezulassung, aber das Hinzufügen großer Metallteile (wie Messing-Leertasten) kann potenziell Funksignale stören.
Technische Zusammenfassung für Modder
Das Abstimmen einer magnetischen Leertaste ist ein Balanceakt zwischen physischer Masse und digitaler Empfindlichkeit.
- Stabilität: Verwenden Sie die 1,5-fache Anfangskraft-Regel, um Ihre Feder auszuwählen.
- Leistung: Schwerere Federn ermöglichen niedrigere Auslösepunkte und können einen ~8ms Vorteil bei der Rückstellgeschwindigkeit bringen.
- Gesundheit: Achten Sie auf Ermüdung; ein SI-Wert von 48,0 in unserem Modell zeigt, dass Setups mit hoher Intensität eine angemessene Ergonomie erfordern.
- Verfeinerung: Führen Sie immer einen „Trockenrücklauf-Test“ durch, um sicherzustellen, dass die Stabilisatoren nicht klemmen.
Haftungsausschluss: Dieser Artikel dient nur zu Informationszwecken. Das Modifizieren Ihrer Tastatur kann Ihre Garantie ungültig machen. Die bereitgestellte ergonomische Modellierung ist eine szenariobasierte Risikobewertung und stellt keine medizinische Beratung dar. Konsultieren Sie einen qualifizierten Fachmann, wenn Sie anhaltende Schmerzen oder Beschwerden haben.