
Attack Shark Mouse Polling Test
How To Use
1. Start Testing
Click the START button to begin. This will activate the full-screen tracking mode. The button will become disabled while the test is running.
2. Move Your Mouse
Move your mouse continuously in circles or side-to-side. The faster and more consistent your movement, the more accurate the polling rate reading will be.
3. Analyze Graph
The blue line represents your real-time polling rate (Hz). A flat, stable line indicates a consistent sensor performance. Drops indicate instability.
4. Scale & Controls
Use the dropdown to set the Max Hz (e.g., 1000Hz or 4000Hz). Use PAUSE to freeze the data or RESET to clear all history.
FAQ & Knowledge
Featured collection
Blog posts
Do You Still Need a Mouse Bungee in 2026 if You Use a Wired Mouse?
Practical fixes stop wired mouse cable drag with correct slack, secure routing, paracord cables, PTFE skates, and bungee alternatives.

Low-Profile vs. Standard Mechanical Keyboards: Which is Better for Gaming and Typing?
Key points: shorter keyboard switch travel distance speeds inputs, low cases improve ergonomics, and standard boards add tactile control.
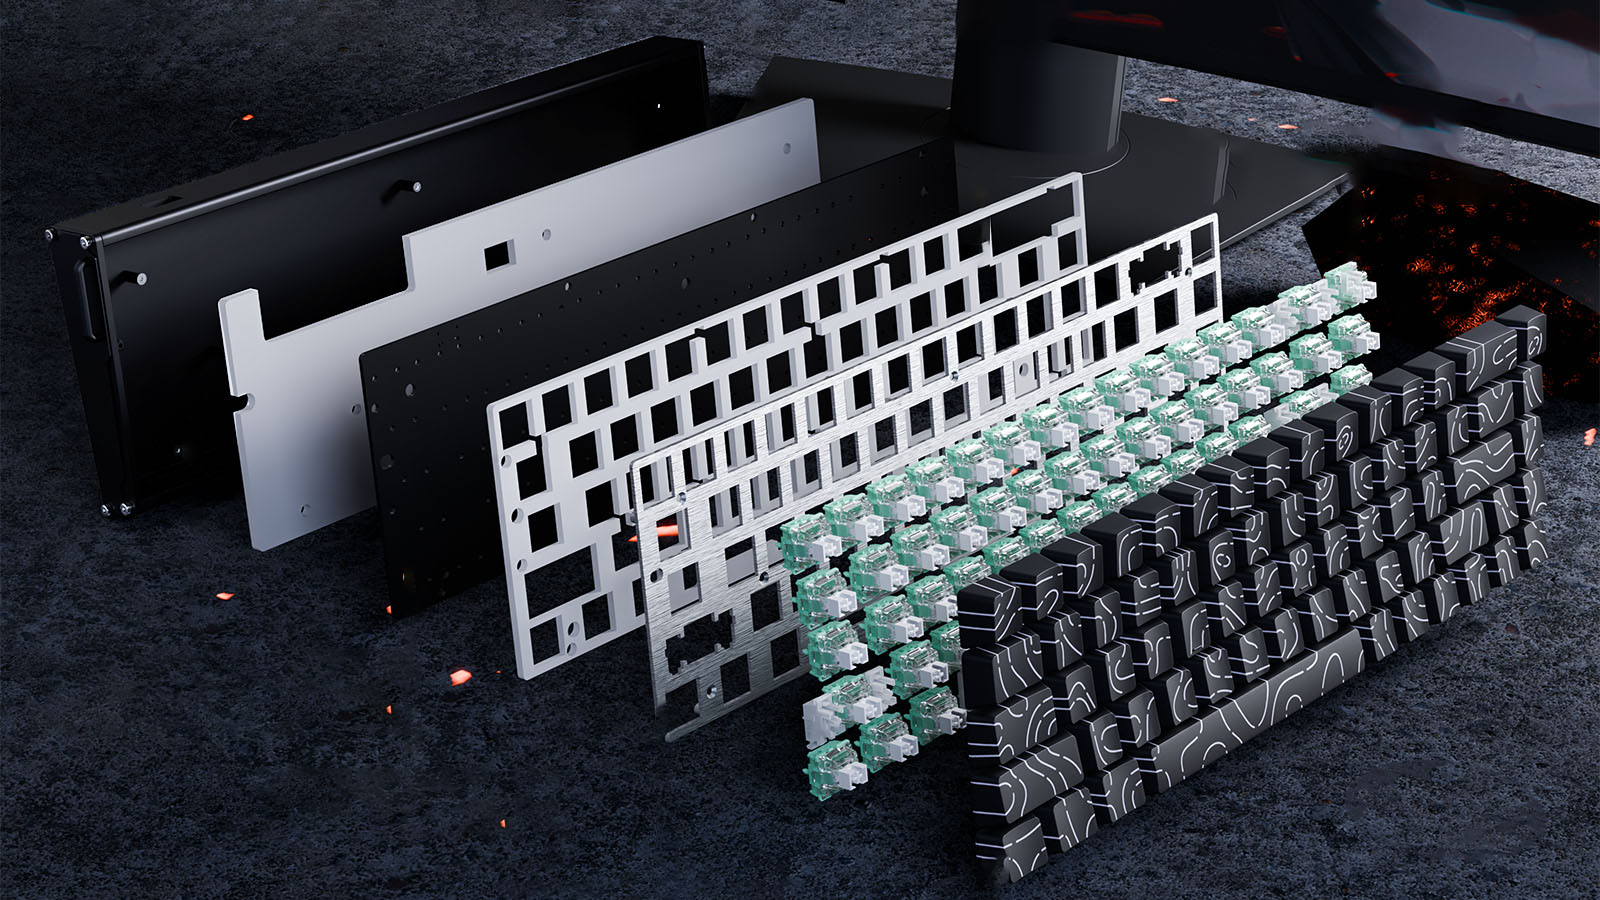
Gasket Mount vs. Top Mount: Understanding Keyboard Mounting Styles
See how keyboard mounting styles affect acoustics, vibration, plate response, and comfort, with clear guidance for custom keyboard beginners.