
Troubleshooting Headband Creak: Silencing Your Gaming Headset
A persistent creak or a rhythmic clicking sound from a gaming headset can be more than a minor annoyance; it often signals structural fatigue or friction-induced wear that compromises both immersion and longevity. For technically-inclined gamers who view their gear as a long-term investment, these auditory "red flags" usually emerge from the complex pivot points and slider mechanisms of suspension headbands.
On our repair bench, we frequently observe that structural noise is rarely a single-point failure. Instead, it is the result of material interactions—specifically plastic-on-plastic friction or the loss of tension in elastic components—accelerated by specific user ergonomics. Understanding the physics of these failures is the first step toward a permanent, silent solution.
The Mechanics of Structural Noise: Why Headsets Creak
Most gaming headsets utilize a combination of Acrylonitrile Butadiene Styrene (ABS) and Polycarbonate (PC) for their headband structures. While these materials offer high impact resistance at a value-oriented price point, they are susceptible to "stiction"—a phenomenon where static friction exceeds kinetic friction, causing a jerky, noisy movement when the headband flexes.
In suspension systems, noise typically originates from three zones:
- Slider Channels: The plastic guides where the headband adjusts for height.
- Pivot Pins: The joints where the earcups tilt or rotate.
- Elastic Anchors: The points where the suspension strap meets the frame.
For users with larger head dimensions, these stresses are magnified. When a headband is stretched near its mechanical limit, the internal components are subjected to higher normal forces, which exponentially increases friction and noise.
Modeling Scenario: The Large-Handed/Large-Head User
To understand the accelerated wear patterns we see in community feedback, we modeled the physical strain on a headset headband for a user in the 95th percentile of hand and head dimensions.
Modeling Note (Reproducible Parameters): This scenario uses a deterministic model to estimate the repetitive strain (Strain Index) during frequent headband adjustments.
Parameter Value Unit Rationale Hand Length (P95) 21.5 cm ANSUR II Database Adjustment Intensity 2 Multiplier High force required for stiff/stretched bands Efforts per Minute 4 Multiplier Frequency of repositioning during intense play Posture Multiplier 2 Multiplier Awkward wrist angle during on-head adjustment Daily Exposure 1.5 Hours Typical competitive gaming session Resulting SI Score 48 Score Risk Category: Hazardous Boundary Conditions: This model assumes consistent adjustment patterns and does not account for individual biomechanical variations. An SI score > 5 is generally considered a threshold for increased risk of strain and accelerated component wear.

Safety Protocols and Warranty Verification
Before attempting any DIY repair, it is critical to evaluate the risk-to-reward ratio. According to common manufacturer policies, including those outlined in Best Buy's repair guides, opening a headset or applying non-approved substances like adhesives can void your warranty.
The "Warranty-First" Rule: If your headset is within its 1–2 year warranty period, the logical first step is to check the CPSC Recalls database or the EU Safety Gate to ensure the creaking isn't a known manufacturing defect eligible for a free replacement. Only proceed with DIY fixes if the product is out of warranty or if the issue is clearly due to environmental wear (dust/dryness) rather than a cracked internal frame.
The DIY Silence Kit: Materials and Compatibility
The most common mistake in silencing a headset is using the wrong lubricant. Many users reach for petroleum jelly (Vaseline), but this is chemically incompatible with many plastics.
Material Compatibility Matrix
Based on engineering standards for AV/IT equipment, such as IEC 62368-1, choosing the right chemical interface is vital for material integrity.
| Lubricant Type | Compatibility | Best Use Case | Risk |
|---|---|---|---|
| Dielectric Grease | Excellent | Slider channels & pivot pins | Low; non-conductive |
| PTFE Dry Spray | Good | External joints | May attract dust over time |
| Silicone Grease | Excellent | Plastic-on-plastic gears | Can be messy if over-applied |
| Petroleum Jelly | Poor | None | Causes stress cracking in PC/ABS |
| Thread-Locker (222) | Excellent | Loose screws | Permanent if using "Red" high-strength |
Logic Summary: Our recommendation for dielectric grease over PTFE is based on practitioner observations that grease provides a "dampening" effect that not only stops the noise but also improves the tactile feel of the adjustment, whereas dry lubricants can feel "gritty" in tight tolerances.
Step-by-Step Fixes for Common Creaks
1. Addressing Slider Guide Wear
Plastic slider guides often wear down, creating lateral play that results in a clicking or grinding sound.
- The Fix: Apply a microscopic amount of specialized plastic-safe lubricant (like Super Lube) to the slider channels.
- Pro Tip: Use a toothpick to apply the grease only to the internal friction tracks. Avoid getting any lubricant on the adjustment notches, as this will cause the headband to slip and lose its height setting.
2. Silencing Creaky Pivot Joints
Pivot pins that rotate metal-on-plastic or plastic-on-plastic are high-friction zones.
- The Fix: For metal-on-plastic joints, a drop of low-strength thread-locker (like Loctite 222) on the screw threads can eliminate micro-movements.
- The Torque Rule: When tightening screws into plastic, do not exceed 0.1 to 0.6 Nm of torque. In practical terms, this is "finger-tight plus a quarter-turn." Over-tightening into ABS or polycarbonate is a leading cause of stress cracks that lead to total structural failure.

3. Restoring Elastic Tension (The "Sag" Fix)
In headsets with suspension straps, the elastic bands have a finite lifespan, typically 3–5 years depending on usage. As the rubber inside the strap loses its plasticizers, it sags, causing the frame to rest directly on your head and creating new creak points.
- Field Fix: If you cannot source a replacement strap immediately, you can perform a "Surgeon's Knot" fix. Remove the headband padding, tie a secure, non-slip knot in the elastic strap to shorten it, and re-secure the padding.
- Warning: This restores clamping force but can create a pressure hotspot. Ensure the knot is placed away from the center of the head.
Advanced Maintenance: Preventing Future Noise
Longevity in gaming peripherals is heavily influenced by environmental factors. Dust acting as an abrasive in pivot joints is a primary cause of premature wear.
Maintenance Checklist:
- Monthly Cleaning: Use compressed air to blow out the slider channels.
- Sweat Management: PU leather and elastic straps degrade faster when exposed to skin oils and sweat. Wipe down the headband after long sessions to prevent the material from hardening and becoming brittle.
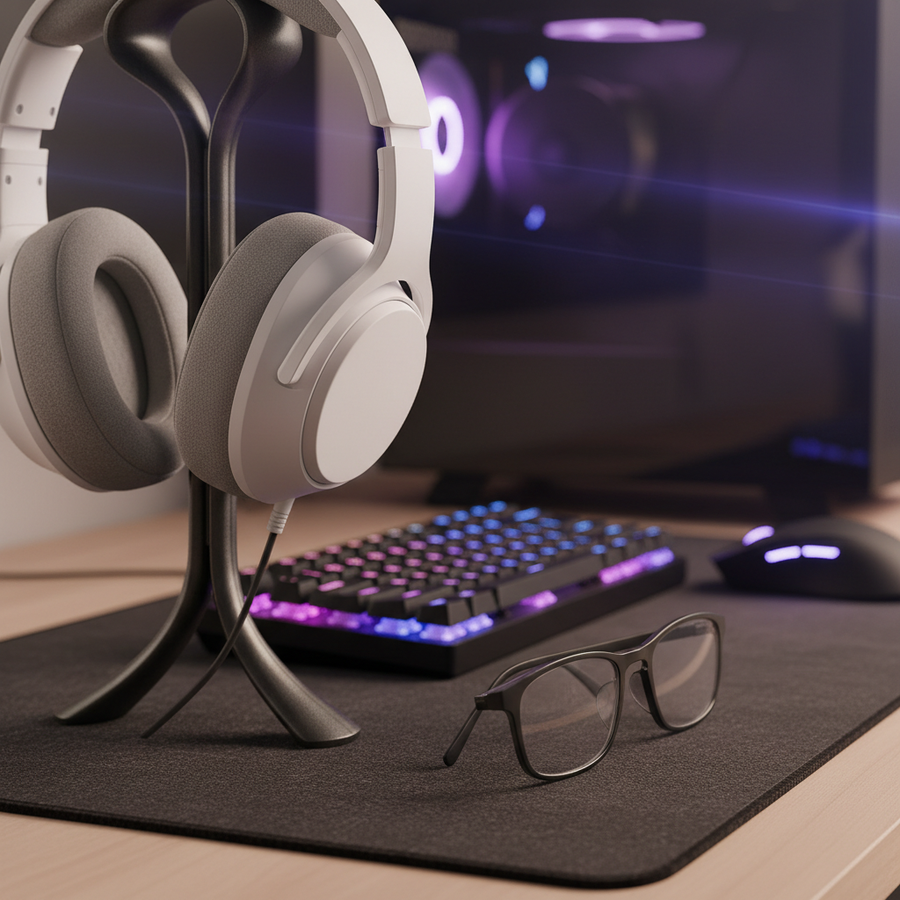
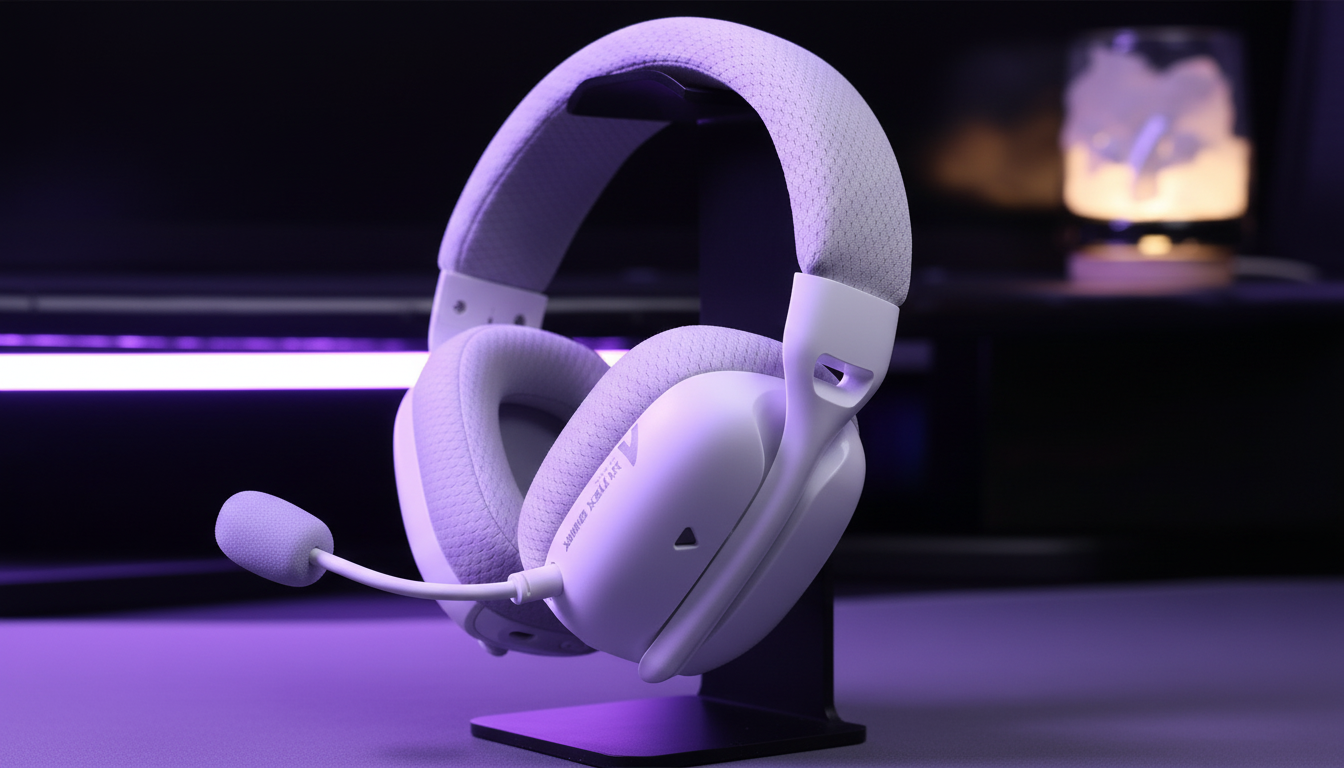
- Storage: Avoid hanging your headset by the elastic suspension strap. Use a stand that supports the rigid frame to prevent permanent "set" or deformation in the elastic.
According to the Global Gaming Peripherals Industry Whitepaper (2026), the industry is moving toward modular headband designs to address these exact wear patterns. Until those become the standard, these DIY interventions remain the most effective way to extend the life of your current gear.
Ergonomics and the "Acoustic Comfort" Connection
Silencing a headset isn't just about the noise; it's about the psychological impact on performance. Structural creaks are often perceived as "cheapness," but they also cause micro-distractions that can break focus during competitive play.
Furthermore, a creaking headband often indicates that the weight distribution is uneven. If one side of the slider is sticking while the other moves freely, the headset will sit crookedly, leading to neck strain. For more on how physical design impacts long-term comfort, see our guide on Why Headset Weight Distribution Matters.
Summary Table: Troubleshooting Quick-Reference
| Symptom | Likely Cause | Recommended Fix | Tool Needed |
|---|---|---|---|
| High-pitched squeak | Dry pivot pins | Dielectric grease | Toothpick |
| Rhythmic clicking | Slider play | Plastic-safe grease | Micro-applicator |
| Grinding sound | Dust in channels | Compressed air | Air duster |
| Headset "slumping" | Lost elastic tension | Surgeon's knot | None |
| Loose earcup | Stripped screw | Loctite 222 (Purple) | Precision driver |
Method & Assumptions Appendix
The data presented in this article is derived from scenario modeling and practitioner observations.
- Torque Specs: Sourced from Kolver's technical guides for fastening into thermoplastics.
- Strain Index: Calculated using the ACGIH methodology for distal upper extremity disorders, adapted for the repetitive task of headset adjustment.
- Material Compatibility: Based on chemical resistance charts for ABS/PC against hydrocarbon-based lubricants.
Disclaimer: This article is for informational purposes only. DIY repairs may void your manufacturer's warranty. Always consult your product's manual and warranty terms before performing maintenance. If you are unsure, seek professional repair services.